
Flexible plywood is a purpose-made panel for curved joinery, selected by bending direction, permitted radius and the finished assembly. Ordinary thin plywood is a different construction. Minh Thanh supplies five-ply thin furniture plywood; this guide explains how buyers should specify specialist bending panels and evaluate standard thin panels separately. Approve a full-size curve with its support and finish before placing a repeat order.
What makes flexible plywood different from a thin sheet?
Flexible plywood gains its bending behaviour from its veneer arrangement, rather than from a thin dimension alone. Standard plywood normally crosses the grain between adjoining veneers to make a panel. A bending product modifies that arrangement so it forms readily in its intended direction. The buyer therefore needs the construction and direction alongside the thickness.
The practical distinction appears when the workshop bends a strip. A standard thin board can feel flexible in the hand but still resist a tight curve, develop a surface crack, or twist when forced around the wrong axis. A purpose-made bending board has a specified forming use. Neither the informal name “flexi ply” nor a photograph of a curved sheet supplies the complete purchasing specification.
The manufacturer’s Radius bending plywood information, consulted 8 October 2026, describes different veneer constructions and identifies its products as nonstructural interior substrates. That is useful evidence of how a specialist product is defined. Its directions and application limits belong to that product; they should not be transferred to another mill’s thin plywood.
For Minh Thanh, the relevant published offer is five-ply thin plywood for furniture and interiors. Use this distinction at the enquiry stage: “thin panel for a trial component” and “specialist bending substrate” are separate purchasing briefs. That keeps an attractive curve from becoming an unsupported claim about ordinary furniture sheets.
Which curved applications suit a bending substrate?
A bending substrate suits a curved skin whose support, attachment and decorative finish are designed as one assembly. Examples include reception counter fronts, curved cabinet ends, column casings and furniture fascias. The panel creates the surface geometry; the frame and joints establish how that component stays in position and takes its loads.
Start with the function of the finished part. A freestanding curved cabinet door needs hinges, dimensional stability and edge finishing. A column wrap needs a defined fixing arrangement and joint. A counter front faces cleaning and impact, while the counter’s top needs a separate support design. Calling every part “curved furniture” hides these different requirements.
For repeat production, identify the hidden side as well as the visible side. The installer needs room to fasten the skin, close the seam, and maintain the curve. A beautiful exterior drawing without an inside assembly detail can leave the fabricator inventing brackets after the material arrives. Show access for assembly and any removable section on the enquiry drawing.
Curved internal components can also combine standard panels with specialist skins. A flat base or partition can be purchased as furniture plywood, while a different substrate forms the fascia. Separate those material lines in the bill of materials. Buyers then evaluate each panel for its actual job instead of forcing one construction to solve the entire piece.
How do long-grain and cross-grain bending directions work?
Specify bending direction with a sketch showing the sheet edges, curve axis and finished component orientation. Long-grain and cross-grain descriptions are useful supplier terms, but the drawing is the purchase reference. It tells the workshop which dimension runs around the curve and which remains along its axis.
Latham’s flexible plywood product guidance, checked 8 October 2026, identifies directional options for flexible panels. Match the offered direction diagram to your cutting plan. A supplier’s sheet label must remain traceable after sheets become narrower blanks.
For a column-shaped component, distinguish the vertical axis from the wrap dimension. For a barrel-shaped component, make the equivalent distinction using the actual installed orientation. Avoid writing only “bend along the length”: one reader can interpret that as the long edge becoming the curved circumference, while another reads it as the axis of the curve.
Grain direction also affects the decorative finish. A veneered curve might need vertical figure although the substrate bends around a horizontal plan. Draw the substrate’s bending direction and the finish veneer direction separately. Mark offcuts and trial pieces so that a successful sample can be reproduced from the production cutting layout.
This standard flat sheet shows why the broad face and sheet orientation should be identified before cutting; it does not demonstrate a bending radius.
What radius should the purchase order state?
The purchase order should state the required finished radius and the reference surface used to measure it. The inside radius, centreline radius and outside radius are different dimensions once the assembly has thickness. A shop drawing should name the controlling one rather than leaving a purchasing clerk to interpret a curved line.
Ask the specialist panel supplier for the permitted radius of the exact construction and direction being ordered. Then evaluate the whole finished stack. A substrate that reaches the form successfully can still fail the design when a thicker decorative laminate, adhesive layer or edge detail is added. The outer finish experiences a different path around the curve from the inner substrate surface.
Distinguish a product’s forming limit from your production target. A limit describes what the specified material and method permit; the target describes the geometry your assembly must retain. The production form, clamping access and adhesive cure have to deliver that target repeatedly. A single demonstration held tightly in the hands does not establish that repeatability.
Do not give a generic radius for “all flexible plywood.” Choose a full-size trial at the drawing radius and document the result. Where the part has several radii, evaluate the tightest region and the transitions together. A broad smooth curve and a sudden change in curvature can expose different weaknesses in the same material.
How should thickness and layer count be compared?
Compare thickness and layer count as separate construction fields, then judge the finished part. A thinner sheet can reduce forming resistance, but it also changes handling and the build needed behind the visible skin. Several layers bonded together become a new assembly with its own thickness, forming sequence and edge treatment.
Minh Thanh’s 3–5 mm thin plywood is always five-ply. The 3 mm version uses a core veneer, two cross-bands and two faces. The 4–5 mm versions use three core veneers and two faces. This published construction is valuable for supported furniture components; it should not be relabelled as specialist bending plywood.
Use finished thickness when designing grooves, rebates and adjoining edges. If the workshop adds a decorative covering after forming, include its build in the finished-part drawing. A groove developed around a bare trial sheet can be too narrow for the coated production component. The plywood thickness guide explains how to keep nominal names, measured dimensions and tolerances separate.
A multi-layer curved skin also needs a defined layup sequence. Number the layers on the drawing, show their directions, and identify the visible side. This helps purchasing avoid a substitute that looks similar as a loose sheet but changes the stiffness or the bonding surface of the assembled curve.
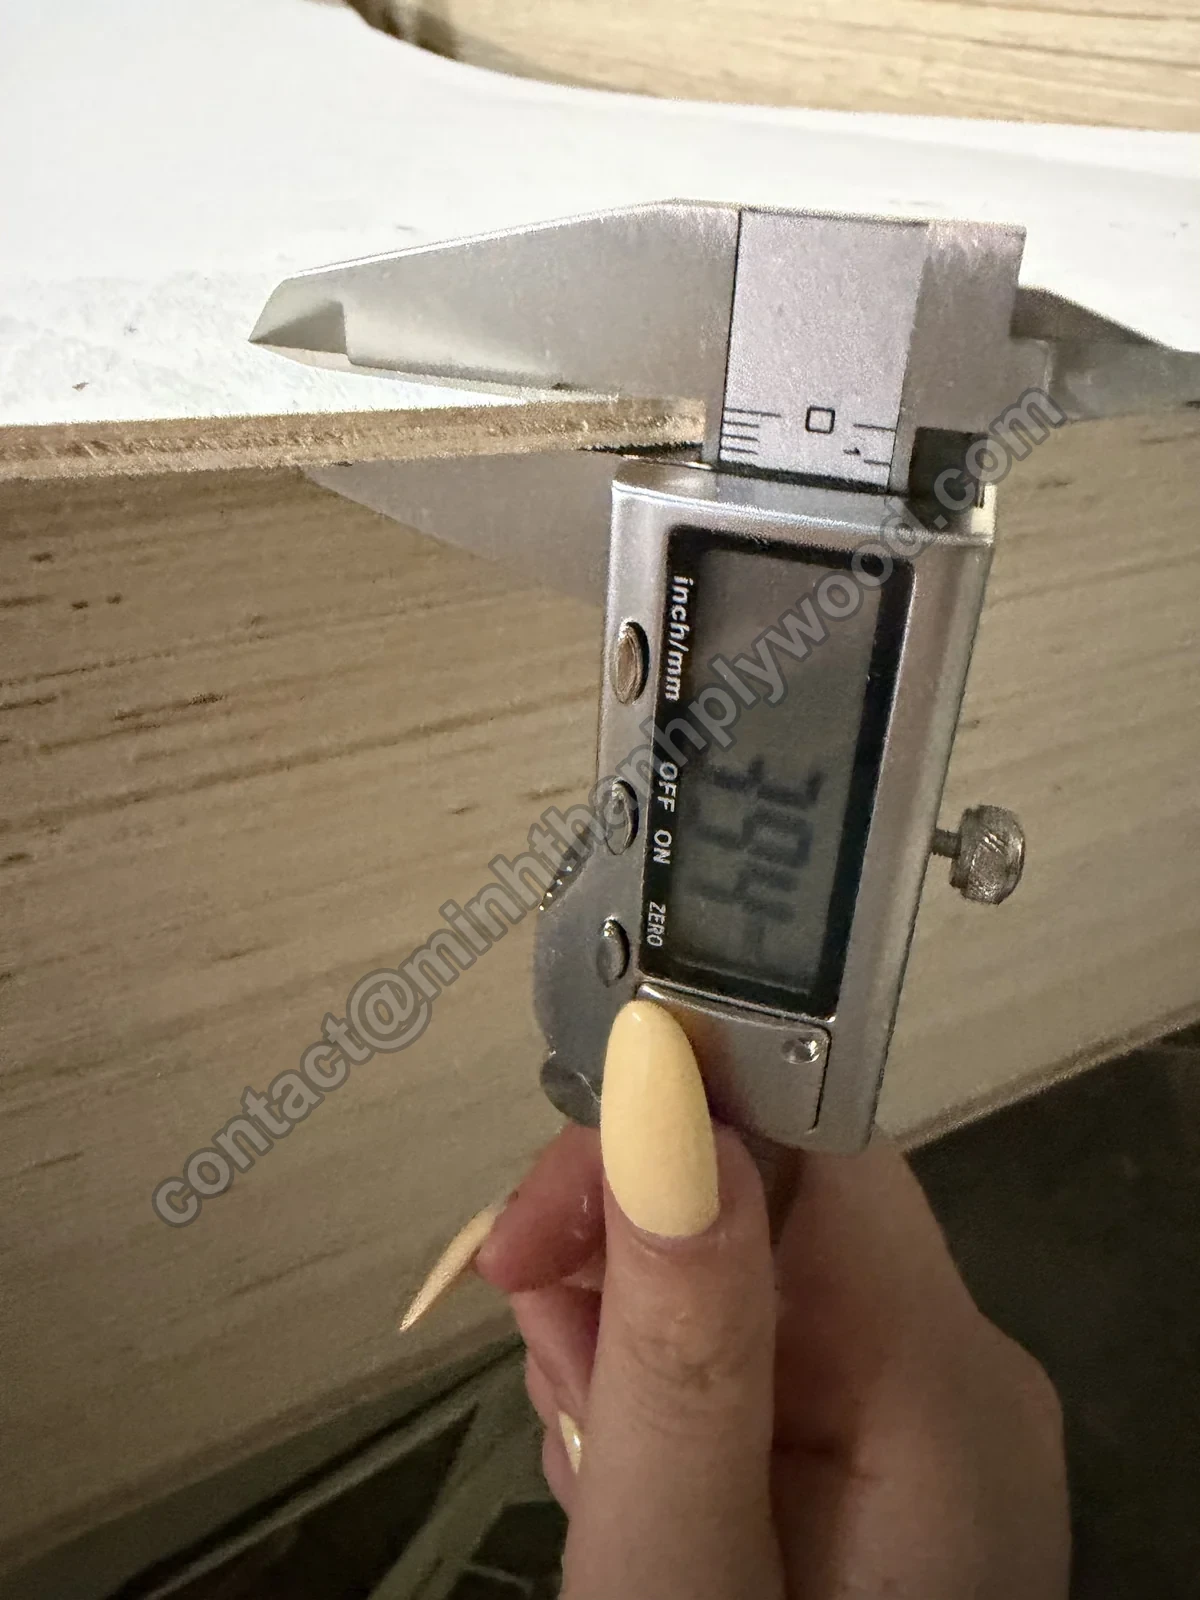
Finished thickness is an inspection dimension; this check does not measure bending performance.
What support does a curved plywood skin need?
A curved skin needs the support and fastening arrangement shown in its component design. A panel remaining curved after forming does not automatically make it a structural member. Plywood for structural and general-purpose use is a separate product class, covered by BS EN 636:2012+A1:2015 in dry, humid or exterior conditions. Identify the loads from people, hardware, cleaning and transport, then decide which parts of the assembly carry them.
For a counter fascia, the framework can carry the top while the curved skin provides the visible front. For a curved door, hinge loads and repeated operation belong in the component trial. In either case, write the frame connection and accessible fastening points into the drawing. Test what will be manufactured, including the connections hidden behind the face.
Place joints where production can close them and finishing can conceal or express them. A seam across a highly visible curve can reveal a slight difference in level or shape. The support beneath that seam and the edge preparation control the result. Specify whether the joint is covered, flush, rebated, or intended to remain visible.
Support is also a transport issue. A completed curve can be damaged if packed with pressure applied to its most flexible span. Design temporary restraints or supports around the finished geometry, and state where a lifting or packing contact is acceptable. Purchasing a panel and shipping a finished curved assembly require different packaging plans.
Which finishing materials should be trialled?
Trial the exact decorative covering and finishing process that will be used in production. The substrate’s ability to bend does not establish that a laminate, veneer, paint system or adhesive can follow the same geometry. The finish determines much of what the customer sees and how the surface behaves in service.
Some bending substrates are intended to receive a covering rather than remain an exposed decorative face. Inspect their surface preparation requirements before ordering. Sanding can improve the bonding surface, but uncontrolled sanding can change the intended thickness or reveal a weak spot. Set preparation from the material and adhesive manufacturer’s instructions.
For veneers, choose the grain direction, colour range and seam position with the curved component in view. Light sweeping across a curve makes surface irregularities more visible than the same finish on a small flat chip. Evaluate a completed mock-up under the lighting used for the installation or customer approval.
For paint, assess the junction between the curve and the adjacent flat part. For laminate, review the minimum forming radius and the edge treatment of that laminate product. Adhesive approval belongs with both materials, and the plywood’s own glue line has a separate requirement: BS EN 314-2 defines the bonding-quality requirements. A good substrate sample and a good finish sample tested separately cannot settle their behaviour when bonded together.
Review the actual bonding surface and finish sample; a pale face alone does not define a decorative system.
Should flexi ply be soaked, steamed or kerf-cut?
Use the forming method specified for the purchased panel instead of adding water, heat or saw cuts as a shortcut. Those methods change the component and the manufacturing process. Purpose-made cold-bending plywood, standard thin plywood and kerf-cut panels require separate development work.
Soaking or steaming introduces moisture into a bonded panel. The workshop must then manage its condition before subsequent gluing and finishing. A casual instruction to wet every sheet leaves drying, dimensional changes and adhesive suitability unanswered. Treat a moisture-assisted process as an engineered trial with the panel and adhesive suppliers.
Kerf-cutting removes material to let a panel close around a curve. It changes the remaining section, the back surface and the fastening options. It can also produce a surface made from small facets instead of the continuous curve the customer ordered. Specify the cut pattern and the intended backing if that process belongs in the design.
Keep these alternatives visible when comparing workshop quotations. “Curved plywood front” can describe a purpose-made bending substrate, a laminated stack, or a machined standard panel. The quotation should identify which route is priced, how the finished surface is obtained, and what production trial supports the proposal.
How do you approve a repeatable production sample?
Approve a full-size finished component made with the intended panel, support, adhesive and finish. A small strip is useful for early screening, but production approval needs the geometry and joints that matter in use. This is the stage where purchasing and the workshop should agree the reference sample together.
- Issue a drawing showing the controlled radius, height, joint and surface orientation.
- Identify each material by product name, construction and production lot.
- Record the form, panel direction and preparation method before assembly.
- Form and bond the component using the proposed production equipment and adhesive instructions.
- Allow the specified cure before releasing the assembly and measuring its shape.
- Inspect the surface, seams and fixings, then apply the intended finish.
- Compare the finished component with the acceptance template and approve the reference sample.
Record springback as a measured outcome of this process. The material, layer arrangement, clamping and adhesive cure all belong to that record. If the workshop compensates through the form geometry, document that form separately from the finished drawing so production does not accidentally reproduce the compensated shape as the customer’s final radius.
Keep rejected trials informative. A crack at the outer surface, a lifted finish edge and a shape that opens after release are different failures. Record the location and stage of each problem before changing material or method. Changing several variables at once can produce a successful part without revealing how to reproduce it.
How should competing quotations be compared?
Compare quotations against the same finished component and material route. A price per sheet becomes useful only after the usable part count and the required extra layers are established. A thicker board or a different bending direction can alter cutting yield as much as it changes the forming operation.
| Quote field | Required purchasing detail | What a mismatch changes |
|---|---|---|
| Material route | Specialist bending substrate, standard thin panel or machined panel | Forming process and preparation |
| Construction | Thickness, veneer arrangement and surface condition | Finished build and handling |
| Direction | Marked sheet diagram and blank orientation | Whether blanks suit the curve |
| Geometry | Finished radius, height and reference surface | Form and inspection template |
| Bonding | Adhesive system, mating surface and curing method | Assembly reliability and labour |
| Finish | Exact covering, grain direction and edge detail | Appearance and forming limit |
| Yield | Accepted components from the cutting plan | Material cost per accepted part |
| Packaging | Flat sheets or supported formed assemblies | Handling and transport damage |
Allow for the cost of the trial and production form. A material that is inexpensive but difficult to hold during bonding can consume additional shop time. A clean forming process can also change where machining happens in the sequence. Include those operations when comparing routes, rather than assuming every quotation ends at the same stage.
For a distributor, maintain distinct stock codes for directional products. Warehouse staff should see the direction at picking, before a contractor opens a pack. Carry the supplier’s direction diagram into product information and retain the sheet orientation on customer cutting instructions. This is a small data field with a large effect on returns.
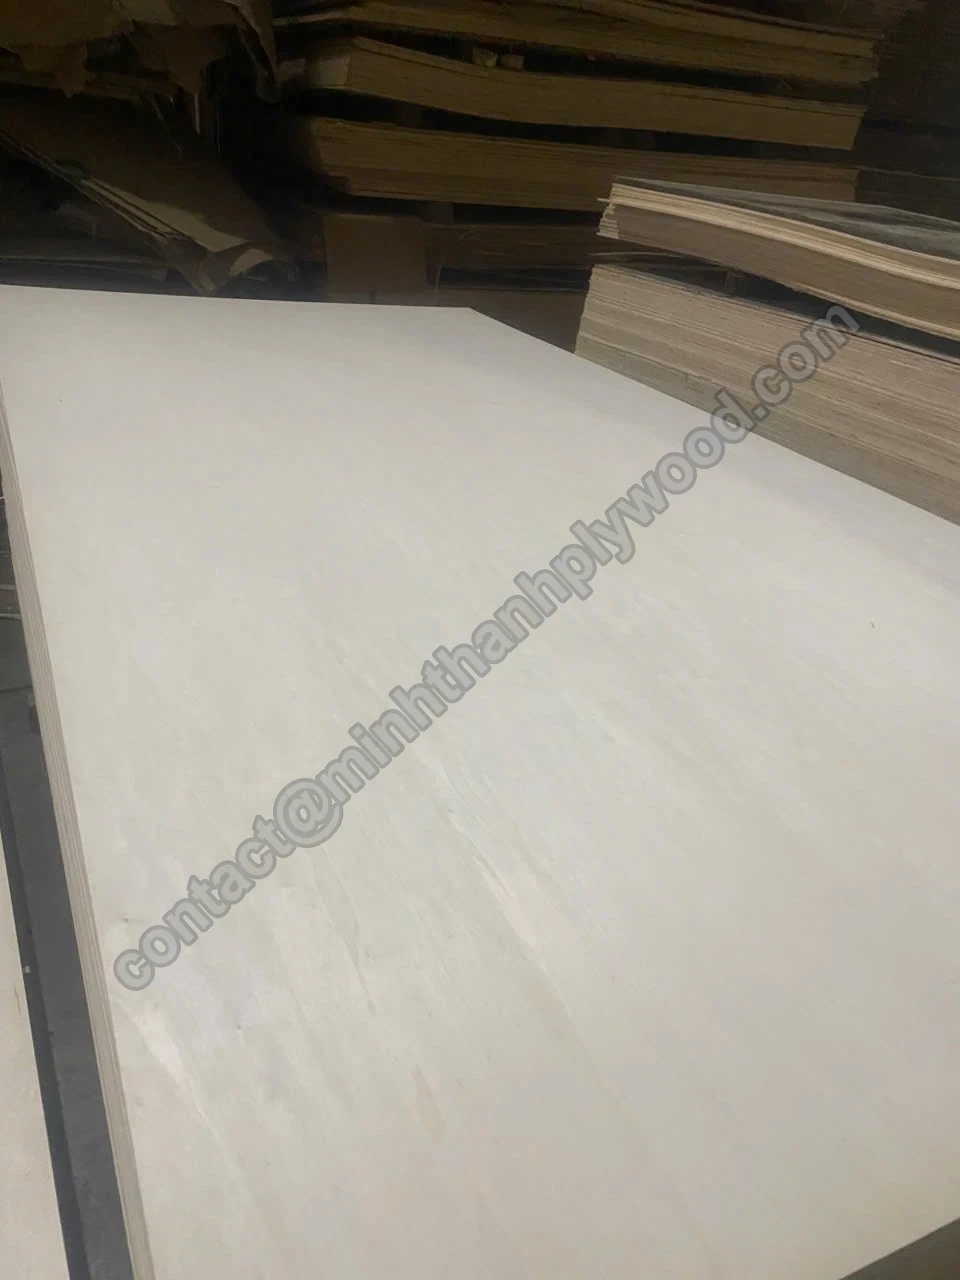
The face and cut edge help identify a standard panel construction before it enters a component trial.
What should receiving inspection and storage cover?
Receiving inspection should check product identity, direction and physical condition before sheets enter the forming process. Retain the pack reference, inspect the faces and edges, and match the supplied direction marking to the order. Separate damage discovered at unloading from problems that occur during forming.
Store flat panel packs on an even support arrangement in a dry, protected space. Keep the sheets clear of the floor and preserve the manufacturer’s storage instructions. A panel awaiting a precise curve needs a controlled starting condition; a sheet picked from an exposed, uneven pile can make a previously approved method harder to reproduce.
Prepare blanks with the direction markings intact. Place a visible reference on the waste side or use a workshop traveller tied to the cutting plan. The machinist should be able to check orientation before trimming and the fabricator before forming. This prevents a direction error from being discovered after adhesive has been applied.
Use the first production pieces to check the process against the approved sample. Inspect for cracking, local flattening, seam alignment and lifting of the covering. Track any replacement material through the same check. The supplier’s product designation and the workshop’s finished component acceptance serve different purposes and should both remain visible.
What can Minh Thanh supply for a curved-furniture programme?
Minh Thanh can supply standard five-ply thin furniture panels and the flat plywood components around a curved design. Our furniture range uses Styrax or Eucalyptus cores with a selected decorative face. These are material options for a buyer’s trial programme, rather than a declared minimum-radius bending product.
Our thin plywood range is 3–6 mm: 3–5 mm is five-ply, while the 6 mm ply count is specified per order. Standard sheet formats include 1220 × 2440 mm and 1250 × 2500 mm, with custom formats in the published range. Furniture panels receive a pressed and calibrated core before the face and back are pressed onto it. State the dimensions and surface your assembly needs at the delivered-panel stage.
Send the component drawing when a standard thin panel is being evaluated. Separate the curved substrate line from the flat carcass, partitions, drawer components and supports. The furniture material selection guide and type guides help connect those parts to the appropriate construction.
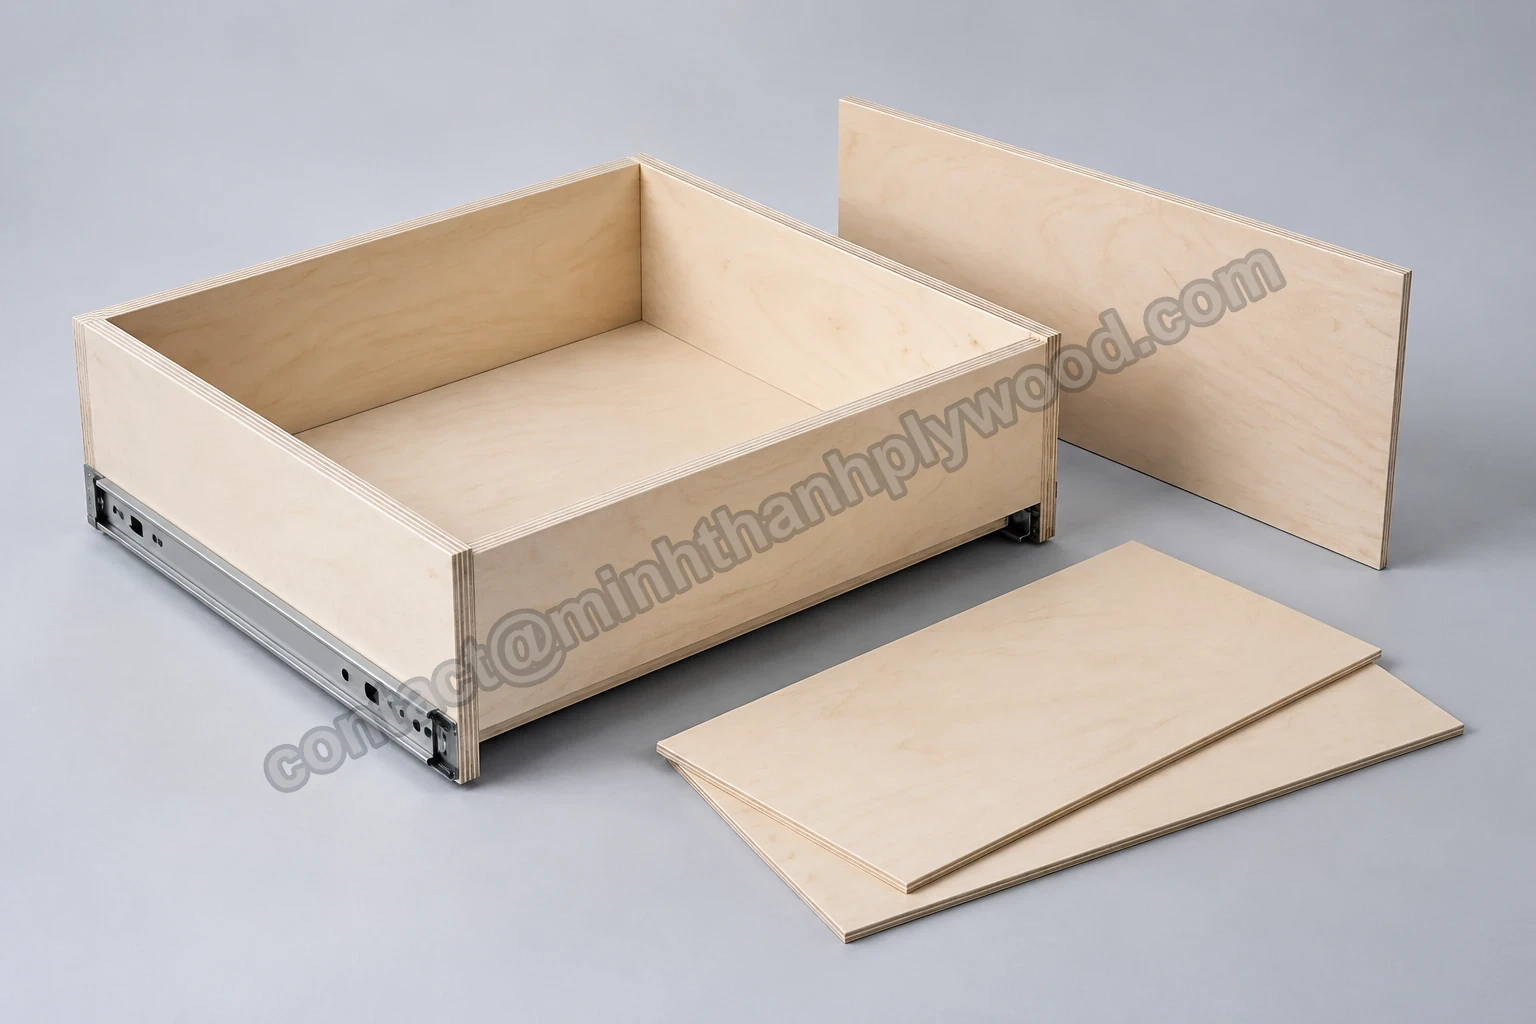
Flat thin furniture components illustrate a separate application from specialist bendy plywood.
For a quotation on Minh Thanh’s standard panels, send the application, face/back, core, bond and emission requirement, finished thickness, sheet size, cutting plan, packing and quantity. Add the destination and drawing for any trial part. Send your plywood specification with the standard-panel lines clearly identified; specialist bending-product requirements should remain a separate line in the purchasing brief.
For regulated flat veneer-core hardwood plywood shipped to the US, the emission limit is 0.05 ppm under EPA’s guidance. Determine the product’s regulatory scope separately when buying an already curved or bent panel.
Buyer questions, answered
What is flexible plywood?
Flexible plywood is a specialist veneer panel constructed to bend readily in a specified direction for curved joinery. Order it by product construction, bending direction, permitted radius and finish rather than by thickness alone.
Is thin plywood the same as bendy plywood?
No. Standard thin plywood retains its normal cross-laminated construction, while bending plywood uses a layup selected for flexibility. Minh Thanh's 3–5 mm thin furniture plywood is always five-ply and needs its own application trial.
Does flexible plywood bend in both directions?
A directional bending panel is supplied for a defined bending orientation. Mark the curve axis and sheet dimensions on the drawing and match them to the supplier's direction diagram; the words long grain and cross grain need that reference.
What is the minimum radius for flexible plywood?
Use the radius specified for the exact product, thickness and direction. The finished laminate, veneer, adhesive and support must also suit that radius, so approve the completed curve rather than copying a radius from a different bending panel.
Does bending plywood need soaking or steaming?
Purpose-made cold-bending products should be formed by their manufacturer's method. Do not introduce soaking, steaming or heat as an unapproved workaround: those steps alter the panel's moisture condition and the subsequent bonding process.
Can flexible plywood carry a shelf or countertop?
A decorative curved skin should transfer loads to its designed frame or support. Specialist bending plywood sold for nonstructural joinery does not supply a shelf or countertop load rating merely because it holds a curved shape.
Can I use flexible plywood outside?
Choose an explicitly specified exterior product and a suitable complete assembly for outdoor work. Interior bending plywood does not acquire exterior suitability when its surface is painted or covered with decorative laminate.
Why does a curved panel spring back?
The formed panel retains a tendency to recover toward its initial shape. Evaluate the released assembly after the specified adhesive cure, including its support and finish, and use that result to set the production form and inspection template.
Can I laminate two bending panels together?
Yes, a designed laminated assembly can combine layers, but its adhesive, layer arrangement, form and curing process must be developed together. Test the final stack at the required curve; the bend limit of one loose sheet does not define the finished component.
Does Minh Thanh supply certified bending plywood?
Minh Thanh's published thin-panel offer is five-ply furniture plywood in 3–5 mm. For that range, send the component drawing and trial requirements; use a specialist bending-panel specification when the project calls for purpose-made flexi ply.