
Walnut plywood combines a walnut veneer face with a separately specified core. Buy it by species, heartwood/sapwood selection, veneer cut and matching, then approve thickness, hardware and finish on the actual construction. Minh Thanh Plywood offers engineered-veneer furniture panels as a separate decorative option. Natural walnut orders need their own veneer references, component layout and acceptance plan; the dark face alone cannot define panel quality.
What is walnut plywood?
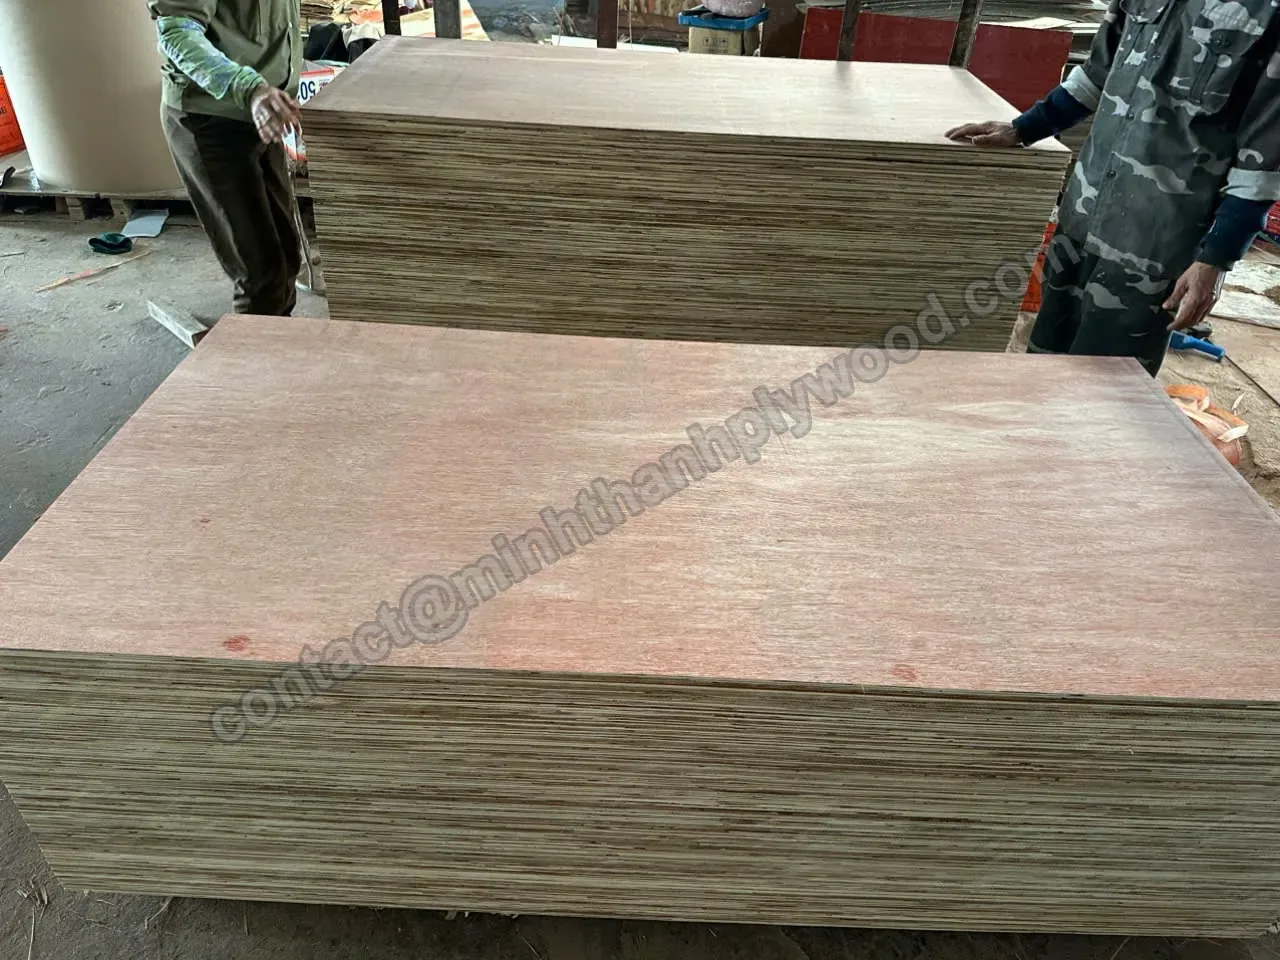
Walnut plywood is a decorative panel with walnut veneer on its visible face and a separately specified substrate beneath it. Walnut faced plywood and walnut wood plywood are common purchasing descriptions, but neither identifies the core, reverse face or required surface preparation.
The face supplies the natural colour and grain. The core supports the part and the hardware. A walnut face over cross-banded wood veneers, a walnut face over MDF and a walnut face over a combination substrate are different constructions. Get the layer description rather than assuming that the darkest or heaviest sheet is the strongest.
A furniture order starts with the parts you need to make. A cabinet side, framed door insert, long shelf and wall panel can share one visual reference yet need different internal specifications. The furniture plywood selection guide explains how to separate those choices. Keep the natural walnut requirement explicit where the design depends on that species.
Minh Thanh’s offered decorative furniture range includes engineered-veneer plywood and birch-faced panels. An alternative from that range should be evaluated as a separate material, with its own pattern and finished sample. Calling an engineered pattern walnut because it looks brown would leave the designer and production team working from different specifications.
For a natural walnut purchase, the useful opening request is a construction schedule and real veneer samples tied to the quotation. A photograph can introduce the material, but it cannot establish the full colour range or the layers inside.
Which walnut species and sapwood selection should you order?
Name the accepted walnut species and define heartwood/sapwood appearance before selecting the grade. Black walnut is a species description; natural walnut and heartwood-selected walnut describe different appearance decisions.
The American Hardwood Export Council’s American walnut guide, consulted on 8 October 2026, identifies black walnut as Juglans nigra. It describes pale sapwood contrasting with brown heartwood and distinguishes the appearance from European walnut. This natural contrast is the reason a dark reference swatch cannot represent every unselected walnut face.
For a calm dark cabinet elevation, define the permitted sapwood and the accepted tonal range using finished examples. For a design celebrating contrast, show where a pale strip or a strong colour boundary can appear. Write the instruction for the visible component rather than leaving the supplier to interpret dark walnut.
Discuss any steaming, colouring or other treatment with the veneer supplier. AHEC describes steaming as a practice used to reduce sapwood/heartwood contrast in walnut timber. The result still needs sample approval; treatment does not remove the need to identify the material and colour selection.
Keep a lighter and darker accepted reference, plus a rejected example where useful. Mark the same face in the unfinished and finished state so the finisher can understand what the coating changes. A rigid demand for identical natural colour across unrelated flitches is different from an accepted range with coordinated adjacent pieces. Decide which the design needs before allocating veneer.
How does veneer cutting change walnut appearance?
Choose the cut for the figure that should remain visible on the finished part. The cut and selection determine whether the panel reads as broad natural figure, repeated cathedral grain or a quieter straight-grain surface.
Rotary-cut veneer produces a wide ribbon with a broad pattern. Plain slicing produces narrower leaves with a lumber-like appearance, often including cathedral figure. Straight-grain selections require their own reference. Do not prescribe an exact knife angle as a shortcut to the appearance, or assume oak’s pronounced ray fleck will appear in walnut.
The manufacturer’s Wood Species 101 glossary, consulted on 8 October 2026, defines the main cuts and matching terms. These definitions help describe the request; actual walnut leaves determine the final approval.
View the proposed cut at component scale. A large cathedral can look attractive across a desk panel and awkward when divided among small drawer fronts. A straight-grain face can give a tall door a different direction from the adjacent horizontal drawer. Send the elevation and grain arrows before selecting the face material.
Ask whether the veneer has been selected from one flitch or combined from several. A flitch is the ordered collection of leaves from a particular log section. Its identity matters when the design needs related figure over several parts. A dark colour selection alone does not preserve that relationship.
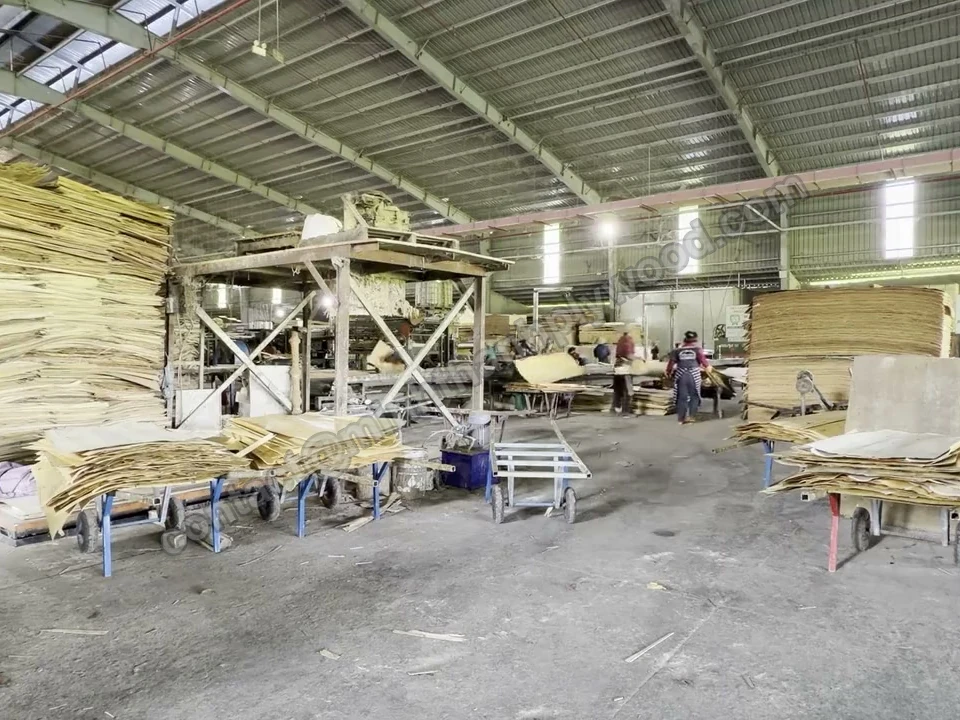
Internal veneer handling on a production line. Natural walnut face selection is a separate material and appearance decision.
How do book, slip and panel-face matching differ?
Leaf matching controls the relationship of pieces within a face; panel-face matching controls how those pieces fill the sheet. State both where the design cares about symmetry or repetition.
Book matching mirrors adjacent leaves by reversing alternate pieces. Slip matching keeps consecutive leaves in the same orientation. A deliberately plank-like assembly creates a different visual character. Pick from finished examples, because the same veneer can look different after the leaves are rearranged.
Running, balanced and centre-balanced layouts describe how the leaf widths sit across the panel. A running layout can leave unequal outer components. A balanced layout uses equal leaf widths before final trimming. A centre-balanced appearance adds symmetry at the centre. Use the supplier’s stated terminology and show the intended result on the drawing.
Columbia Forest Products’ technical FAQ, consulted on 8 October 2026, distinguishes these matching relationships and the alternating light/dark appearance sometimes seen after book-matched veneer is finished. This optical effect needs its own approval under the intended coating and lighting.
For a cabinet door, do not let the last trimming operation move a carefully chosen centre line off the door centre. Give the supplier net and manufacturing dimensions and identify the final visible boundary. For a pair, approve the relationship between the two completed doors as well as the appearance within each one. The best-looking full sheet can still be the wrong starting layout for the cut parts.
When do you need sequence matching across panels?
Specify sequence matching when the figure must relate from one panel to the next, and preserve the panel numbers through production and installation. A book-matched face on each sheet does not automatically create a sequenced wall or cabinet bank.
Begin with an elevation that identifies every panel position. Mark interruptions such as doors, reveals and corners, then decide where grain continuity must stop or turn. A corner return, a tall door and a horizontal drawer bank need explicit instructions. Label the top and the viewing face so the installer cannot rotate a correct panel into the wrong position.
The Architectural Woodwork Institute’s wall-cladding inspection guidance, consulted on 8 October 2026, treats shop drawings, sequence and grain direction as inspection items. Use a panel map to connect the veneer approval with the finished elevation.
Reserve replacement material while the original set is being planned. A spare random sheet can satisfy species and grade yet fail beside its neighbours. Specify whether replacements must match an individual position, a door pair or a complete group. The spare strategy belongs with the original order, not only with the maintenance instructions.
Keep set labels on the back or protective packaging in a way that remains legible after cutting. The workshop should know which offcuts belong to which elevation before they are stacked together. Recreating sequence from finished faces wastes time and can lose the continuity you bought.
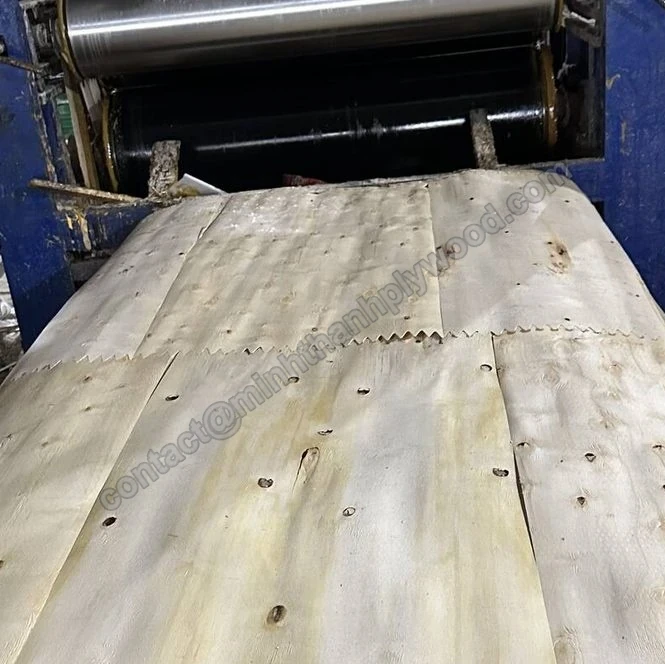
Joined internal veneers. Face-leaf matching and panel sequencing require their own specification and identification.
Which walnut grade and repairs are acceptable?
Choose a named appearance grading system and an approved feature range for the face and back separately. A grade code cannot replace sapwood selection, veneer cut or the matching instructions.
Ask the supplier to identify the system and edition used for the quotation. Establish what it permits for knots, mineral marks, patches, splits and leaf joins. A defect allowance in a grading rule is not automatically the appearance the designer wants on a visible door. A sound repair can be acceptable on a concealed back and unacceptable in the middle of a clear-finished face.
Use full-face samples to place permissible features in context. A small repair looks different beside strong natural figure than in a quiet straight-grain field. Apply the intended finish to example repairs, because stain and clear coat can emphasise their outlines or change the colour difference.
Identify unacceptable manufacturing defects independently of natural character. An open splice, lifted face, glue contamination and sanding-through are not simply walnut variation. Give the receiving team reference examples so they can record the right problem without rejecting every natural tonal difference.
If both sides will remain visible, provide an appearance requirement for both. For a panel with one hidden side, the back still needs the agreed construction and balance. A less decorative back is a purchasing decision, not permission to ignore its bond, surface condition or role in keeping the finished panel suitable for the component.
Which core should a walnut-faced panel use?
Select the core by the component’s load path, hardware, machining and mass. Walnut veneer changes the visible surface; it does not turn every substrate into the same furniture panel.
| Core construction | Reason to evaluate it | Sample check that matters |
|---|---|---|
| Cross-banded veneer core | Conventional plywood joinery and handling | Layer continuity, sawn edge and the actual fixing positions |
| MDF substrate | Fine, even substrate for a decorative surface | Mass, hardware detail, edge preparation and exposure |
| Particleboard substrate | An identified decorative component uses this construction | Connector design, edge integrity and the finished assembly |
| Combination core | A specified mix of substrate layers | Exact layer schedule and the machining depth at connectors |
| Lumber-core construction | A particular component or shop process calls for it | Construction identity, flatness and actual cut/assembly performance |
Do not compare categories using invented screw-holding rankings. Use the hardware maker’s installation detail and test the complete sample. An edge screw, a hinge cup and a face-mounted connector work in different parts of the construction. A local gap at one fixing can matter more than a favourable general description of the core species.
For a separate furniture-panel comparison, Minh Thanh uses white Styrax or Eucalyptus core as standard. The veneers are stitched horizontally and vertically; the core board is pressed and calibrated before the face and back are pressed on. Ask a natural walnut supplier for the corresponding assembly and calibration information. Inspect the layer section alongside the finish, rather than accepting the face appearance as evidence for the core.
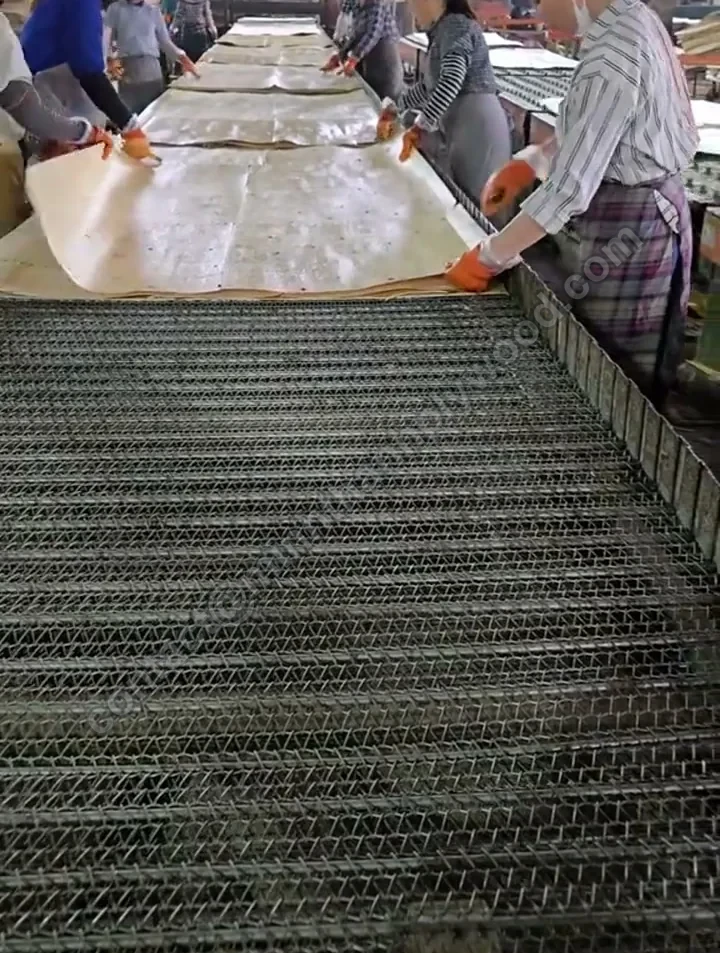
Core assembly beneath a decorative surface. The photograph illustrates construction and does not establish a walnut product specification.
How do you specify 1/4 walnut plywood or 1/8 walnut plywood?
Specify the required finished thickness and tolerance from the drawing, then check the supplier’s actual panel. Nominal searches such as 1/4 walnut plywood or 1/8 walnut plywood identify shopping categories rather than a complete machining dimension. Inch sizes use the exact NIST definition of 1 inch = 25.4 mm.
Separate a decorative insert from a self-supporting component. A thin sheet inside a framed door behaves as part of that frame. A wide unsupported door, a loaded shelf or a cabinet side needs its own thickness, construction and fixing decision. A retail listing for cabinet plywood does not establish a span rating.
Measure the sample sheet at several agreed locations using the same method planned for receiving. Check the groove, connector and hinge pocket on the cut part. At a paired door edge, thickness variation can show as a visible step after the hardware is fitted. At a back panel, groove fit can determine how easily the cabinet assembles.
Minh Thanh’s offered furniture range is 3–40 mm. Sanded furniture panels have a stated tolerance of ±0.2–0.3 mm, down to ±0.2 mm. Those capabilities apply to our specified offered constructions; a walnut supplier’s tolerance needs its own written agreement.
State dimensions at the relevant stage. A raw blank, a sanded panel and a finished component do not necessarily have the same thickness or size. Keep any machining allowance separate from the net drawing dimension so the workshop does not remove material needed by the finished design.
What face thickness and sanding allowance should you request?
Request face veneer thickness at the supplied stage and agree the preparation allowed in your workshop. Overall sheet thickness does not reveal how much walnut remains at a corner or splice after sanding.
A thicker core is not a thicker wear layer. Decorative veneer is chosen to provide the visible surface, and aggressive local sanding can expose the cross-band or substrate. A glue mark, an uneven edge band and an open join need different responses. Do not set up a process that removes more face material whenever a blemish remains visible.
Run the intended sanding sequence on a sample that includes an edge, a splice and any accepted repair. Apply the finish and inspect for colour changes that suggest the decorative face has become too thin. Check corners where a hand sander can tilt, and the area beside a lipping that must be made flush.
Ask how the core was calibrated before the walnut face was applied. On Minh Thanh’s furniture panels, core pressing and calibration precede the face/back press. This is a useful process distinction when comparing constructions: core thickness correction and final decorative-face preparation are different manufacturing tasks.
Keep the sanding trial with the finishing instructions. If a later delivery arrives with a different face thickness or preparation, the old sanding setup needs review before the visible parts enter production. An unmarked change can create avoidable waste even when the nominal sheet thickness stays the same.
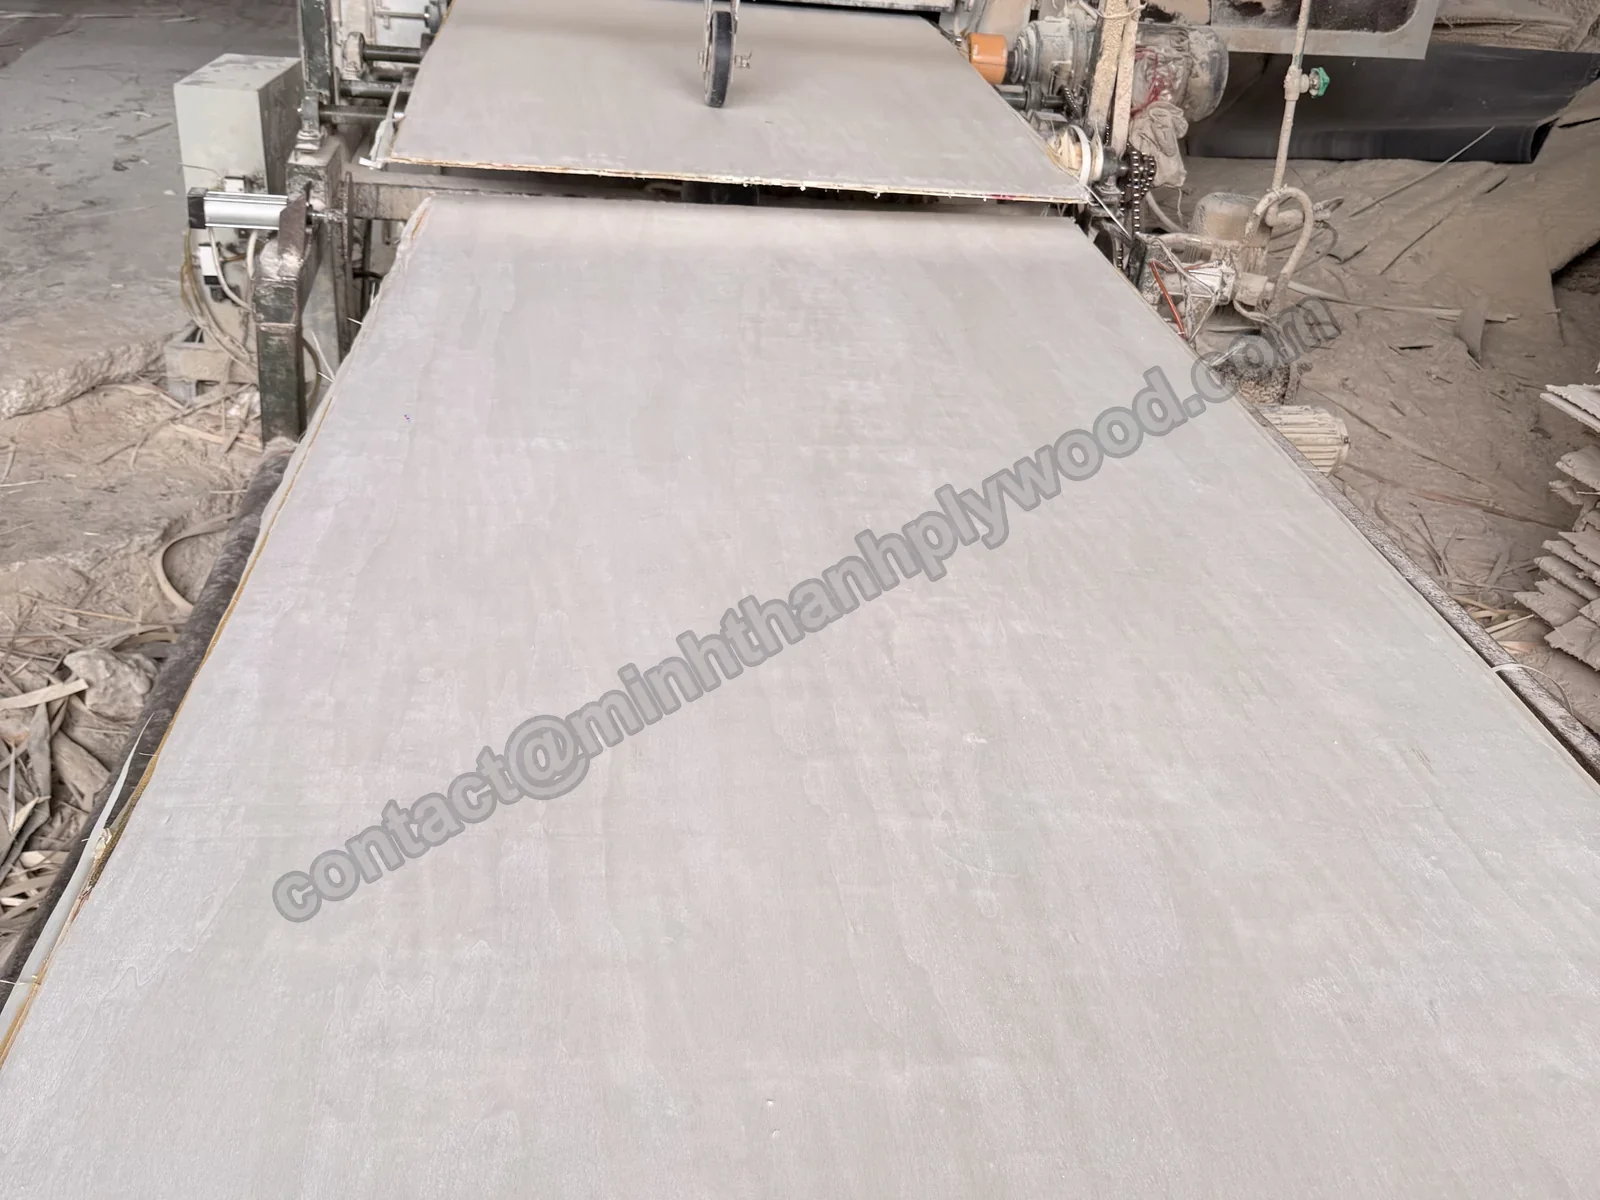
Panel sanding on a production line. A walnut face needs its own supplied-stage thickness and workshop preparation agreement.
Where does walnut plywood fit in a furniture bill of materials?
Use natural walnut veneer where its visible character justifies the selection and finishing work, then choose the complete panel for each component. The material schedule should distinguish surfaces that remain exposed from parts that are hidden or coated opaquely.
| Component | Appearance decision | Construction decision |
|---|---|---|
| Cabinet end and door | Colour range, grain direction and relation to adjoining fronts | Flatness, hardware and edge treatment |
| Drawer front | Figure placement and matching within a bank | Attachment and machining allowances |
| Shelf | Face/back visibility and exposed front edge | Load, support, core and thickness |
| Desk or furniture top | Grain layout, corner detail and finish | Support, joints and service exposure |
| Wall cladding | Sequence, position and corner returns | Attachment, movement and complete interior system |
A long shelf needs a support design regardless of the face species. A door needs a balanced construction and a finished hardware trial. A horizontal surface needs a finish selected for its intended wear and cleaning, plus a realistic repair strategy for the thin veneer.
Specify backs and cabinet interiors deliberately. A dark outer face can pair with a separately approved pale interior, while an open divider may need the walnut appearance on both sides. Buying the same appearance grade for every part can spend money where the design will hide it. Reducing the hidden appearance grade should leave the agreed mechanical construction intact.
Decorative furniture plywood is not automatically structural sheathing, a flooring wear layer or a marine panel. Those applications require their own documented product and design. Keep that boundary in the material schedule so a convenient offcut is not assigned a job outside the approved construction.
How does walnut compare with oak, maple and engineered veneer?
Compare the surface the design needs and the production work each candidate requires, then compare equal core constructions. Species reputations and unsourced price ratios do not answer a furniture procurement question.
| Surface choice | Reason to specify it | Approval issue to settle |
|---|---|---|
| Natural walnut | Walnut identity, brown heartwood and natural figure are part of the brief | Sapwood, colour range and matching |
| Natural oak | Visible pores and oak grain are intended | Red/white oak choice, cut and pore treatment |
| Natural maple | A pale fine-grained maple surface is required | Species, pale selection and stain response |
| Birch-faced plywood | A different pale hardwood fits the design | Actual grade pair, natural features and finish |
| Engineered veneer | A chosen decorative pattern and repeat fit the design | Pattern reference, orientation and colour under finish |
A walnut-coloured stain on another species gives that species a coloured finish. It should be approved and described that way. Likewise, an engineered-veneer pattern must retain its own identity on the material schedule. This avoids a disagreement when a designer expects the figure of natural walnut and receives a repeated pattern.
For performance comparisons, use the same component drawing, support and hardware. For commercial comparisons, include the same delivery term and the work needed to reach the finished reference. One panel might cost more per sheet and need less colour sorting; another might require a different edge treatment. The sample-batch yield reveals that difference more clearly than a blanket statement that walnut costs a fixed multiple of another face.
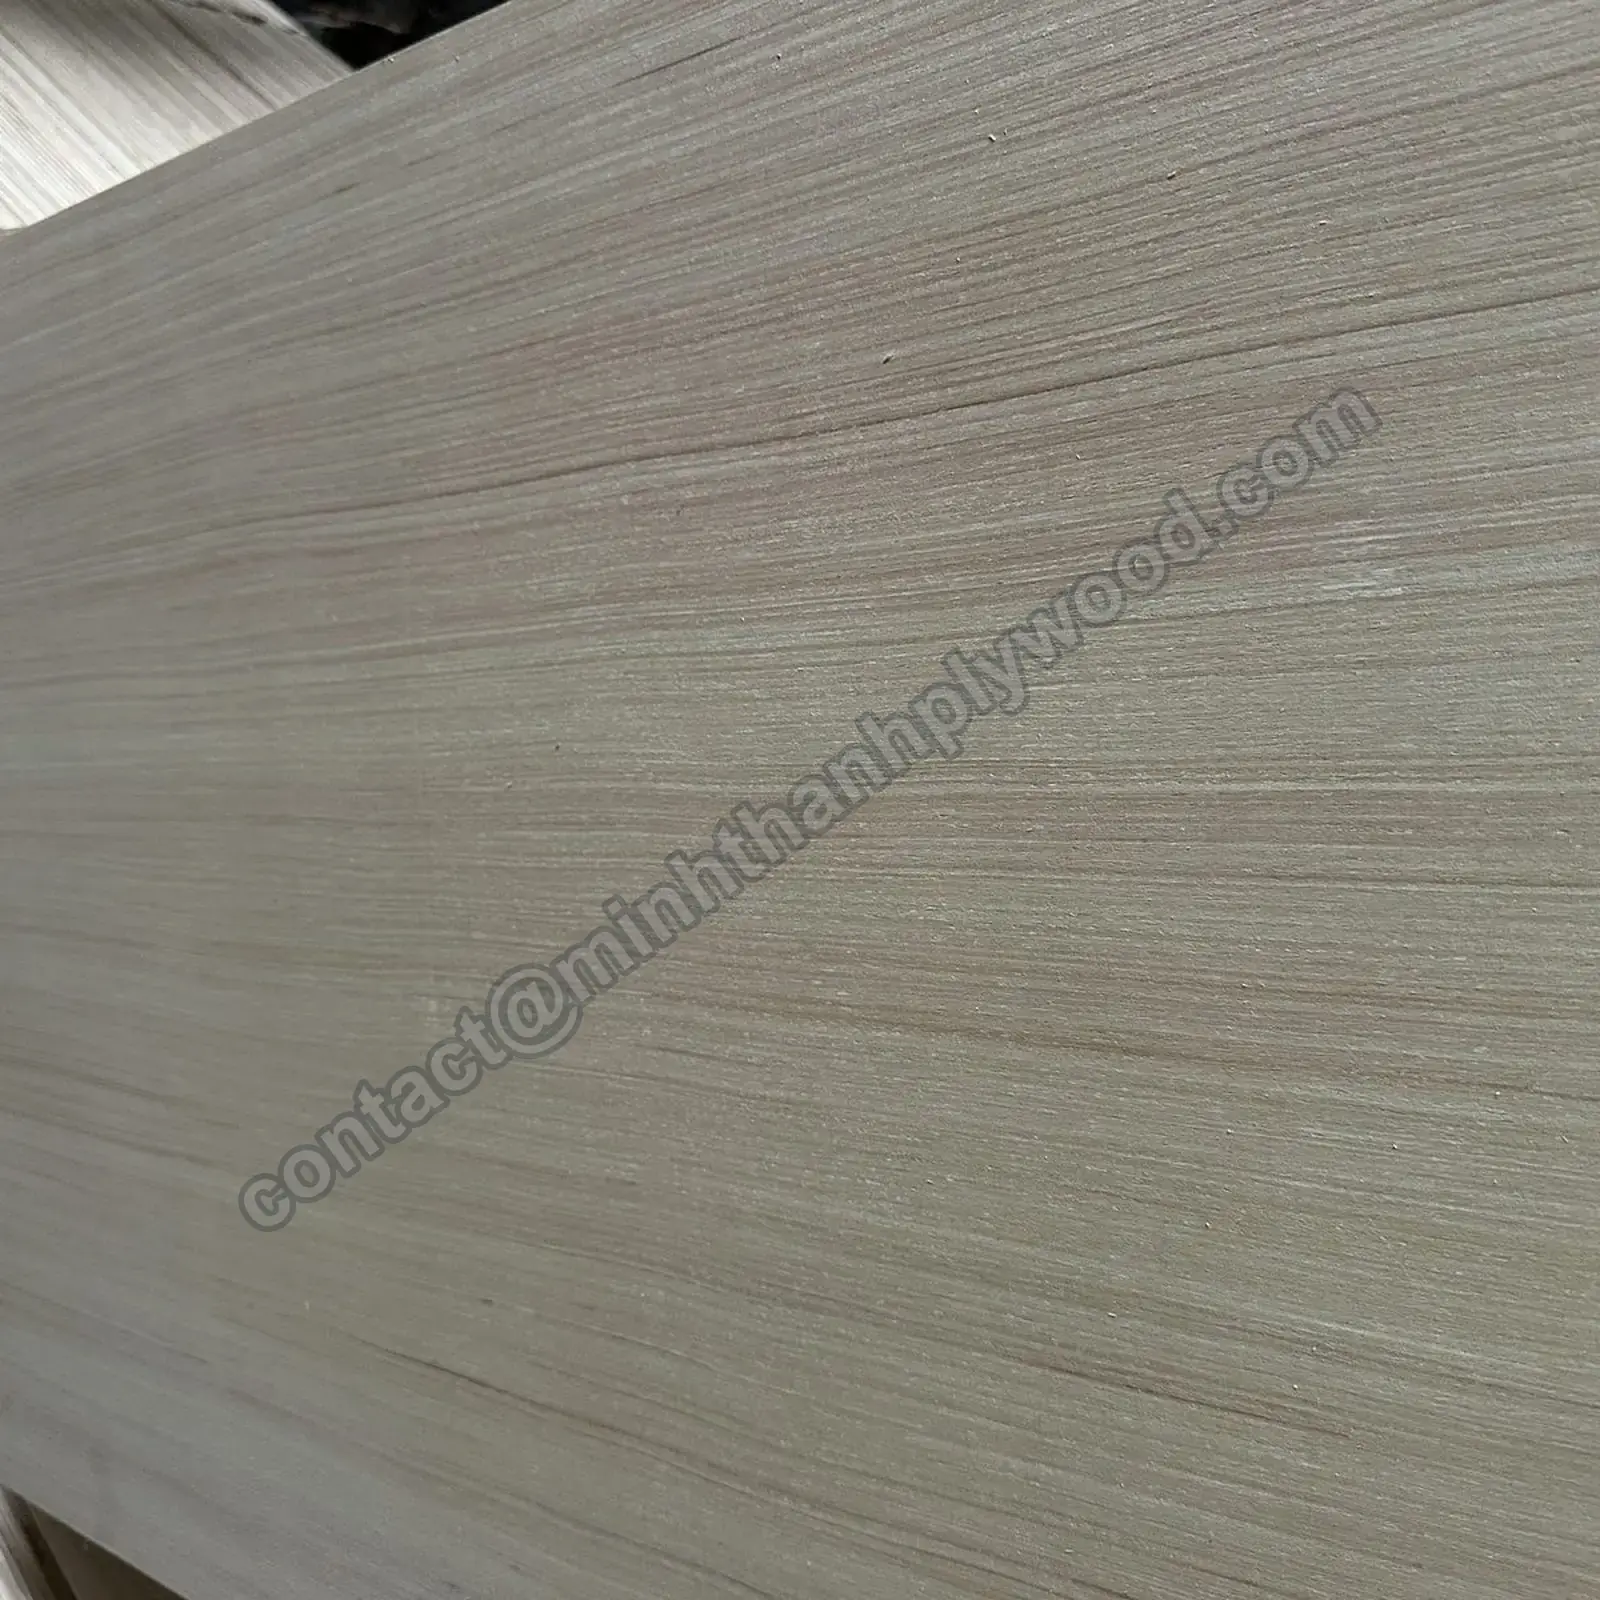
An engineered-veneer surface from the offered range, shown as a separate decorative option rather than as natural walnut.
How do you approve walnut colour and the complete finish?
Approve surface preparation, any colouring, sealer and topcoat as one finishing system on the quoted veneer. A rich-looking unfinished leaf is only the start of the finished reference.
Include lighter and darker permitted faces in the trial. Put an accepted sapwood boundary, a splice and any allowed repair under the same system. Examine the surfaces after the coating has cured, then compare them beside the edge banding and solid walnut parts. The coating supplier’s schedule should identify application and drying requirements for the actual material.
For a natural clear finish, decide whether the expected tonal difference between face and edge is acceptable. For a coloured finish, establish how the system handles sapwood and heartwood rather than assuming one stain coat will make them identical. Trial any toner or other colour-correction step before it becomes the production instruction.
Review the panel in its intended orientation and lighting. Book-matched leaves can appear lighter or darker as the viewing angle changes. Distinguish that accepted optical appearance from a glue mark or an uneven application. A sample judged only from one workshop position can miss the effect the buyer will see on a vertical door.
Store reference samples covered and identified. Compare incoming material with the retained reference and the accepted range, not an old photograph taken under unknown lighting. Keep a separate working sample for the workshop so the master reference is not damaged by handling or used up during another trial.
Walnut generally lightens with light exposure, as the American Hardwood Export Council explains in its hardwood sourcing guidance, consulted 8 October 2026. Agree the colour-stability target with the coating supplier and assess coated samples under the intended exposure. Record initial colour and acceptable later change so a replacement panel and a long-serving neighbour can be judged against a practical reference.
The finishing approval should also produce the care instruction for the furniture buyer. Use the coating supplier’s guidance for cleaning, spill removal and repair rather than prescribing one cleaner or dilution for every walnut surface. Trial the intended cleaning product on the finished sample. A coating chosen for its appearance still needs to match the cleaning routine and service exposure. State how local damage will be handled when the decorative face has little sanding allowance; replacing an identified component can give a better result than sanding through the veneer while trying to remove a deep mark.
What edge treatment belongs with a walnut face?
Choose the edge detail alongside the veneer, because colour and grain differences at the edge can dominate the finished component. Veneer banding, solid lipping and a deliberately exposed layered edge are separate design choices.
For veneer banding, identify the walnut species and colour selection and compare the strip under the planned finish. A natural face and an unselected banding strip can show a sharp contrast even though both are sold as walnut. For solid lipping, include the profile and its junction with the face in the approval sample.
The machining sequence matters. Flush trimming and sanding must protect the face beside the banding. At a corner, trial how the grain direction, adhesive line and profile meet. Inspect the finished junction for a raised strip, a sanded-through face or a gap that collects finish differently from the wood.
An exposed plywood edge needs its own acceptance requirement for layer appearance and internal repairs. A smooth walnut face cannot conceal an open core gap at the front of a shelf. If the design wants that edge, inspect routed and coated edge samples from the quoted construction.
Keep edging identification with the panel batch where a close match is required. Retain approved face/edge assemblies rather than separate loose swatches alone. This helps purchasing check that repeat deliveries fit the same finished junction, and helps the workshop spot a mismatched strip before it has been applied to a whole batch.
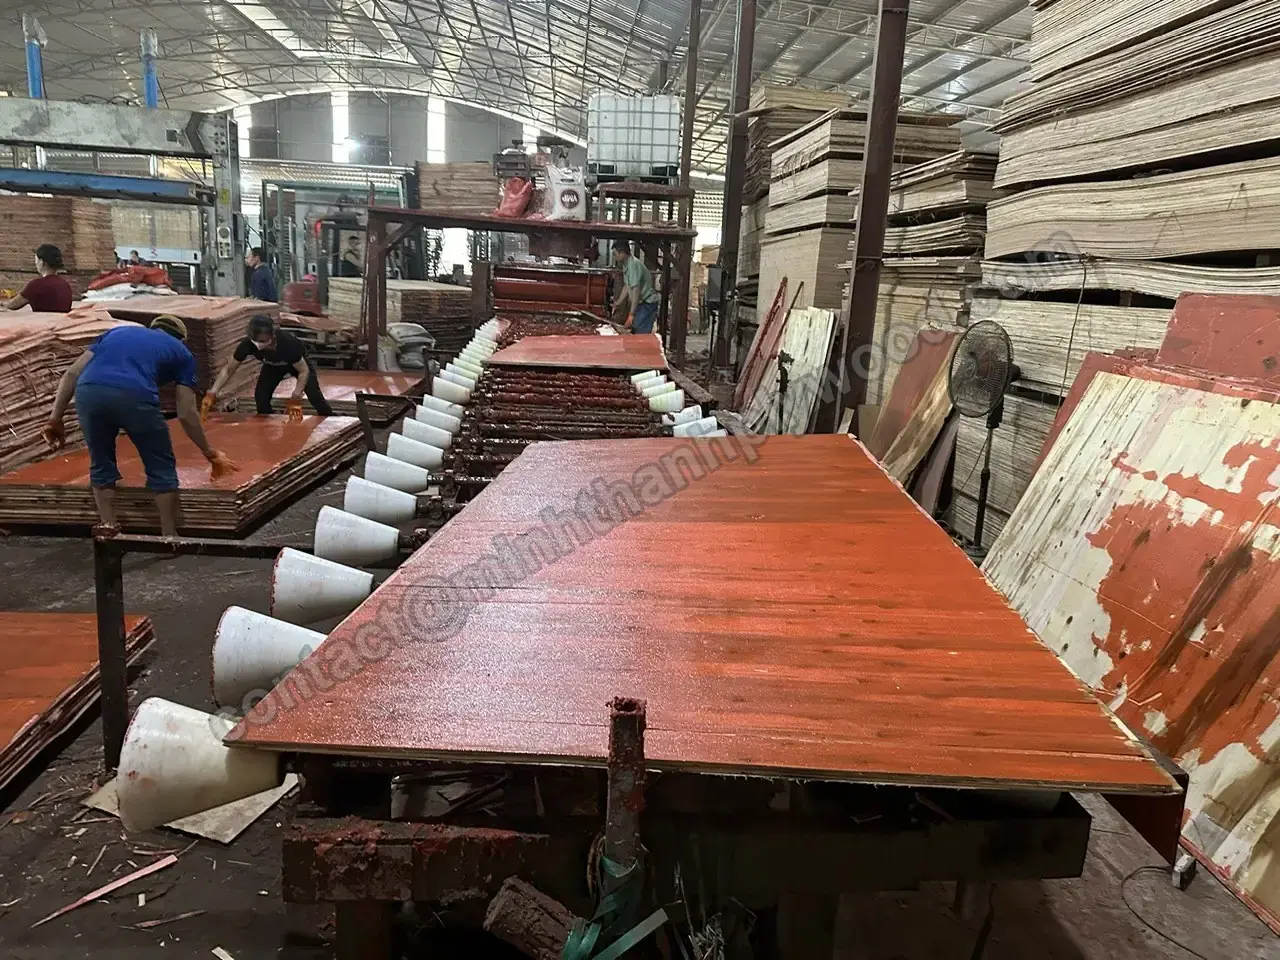
Panel adhesive application. The finished edge detail still needs a separate face-and-banding trial.
How should you trial cutting, routing and hardware?
Trial the production tools and hardware in the quoted construction before committing a valuable selected face batch. A clean cut and a reliable fixing depend on the whole panel and the workshop setup.
Check the visible face and back after sawing. Use the planned blade, scoring arrangement or supported cutting method, then evaluate the result on the actual veneer. A universal rule about which side should face up is less useful than a trial matched to the machine and tooth action your workshop uses.
Rout a representative pocket and an exposed edge, and drill the production fixing positions. Inspect for face tear-out, unsupported layers and local gaps at the connector. Follow the hardware manufacturer’s pilot-hole, clearance and installation guidance instead of giving every walnut-faced panel one generic drill diameter.
Test the complete assembly. A hinge that feels secure immediately after driving is only part of the check; the completed door must operate as designed. A shelf connector needs the actual support arrangement. Where the design relies on a solid walnut lipping, evaluate that screw location independently from a fixing through the plywood face.
Record the successful tool setup, material identity and rejected defects. Do not let a changed core or face preparation pass through under the earlier sample approval. A repeat order with the same visible colour can still need a renewed machining trial if the internal construction has changed.
How do you calculate usable walnut yield and cost?
Use accepted finished components as the cost denominator, because grain matching and colour selection restrict more than the geometric cutting layout. The useful comparison is the total cost of making the required accepted parts.
Track each cause of loss separately: kerf and trimming, grain-direction restrictions, feature placement, machining damage and finish rejection. A cut planner can fill a sheet with rectangles while producing none of the required matching door pairs. Keep the component identity, grain arrow and set relation in the nesting file.
Two useful calculations are:
- Accepted parts per purchased sheet = accepted finished components ÷ purchased sheets. Compare like components with the same dimensions and specification.
- Cost per accepted part = panel, freight, packing, machining, edging and finishing costs included in the comparison ÷ accepted parts. State which costs are included before comparing suppliers.
Use results from an identified sample batch rather than inventing a standard walnut wastage percentage. Reuse a darker zone on a concealed component only when that component’s appearance requirement permits it. Keep the recovery separate from the yield of selected visible faces.
For sequence work, calculate by complete accepted sets as well as individual parts. If one damaged panel prevents a wall group from being installed, counting its undamaged neighbours as finished output overstates usable delivery. Evaluate the cost and timing of the agreed spare strategy with the original order.
Ask quotations to separate ordinary sheet supply from selected or sequenced face work. This makes the extra purchasing requirement visible and helps the workshop compare it with the sorting and rework it removes. A low unit price is useful only when it reaches the same accepted finished result.
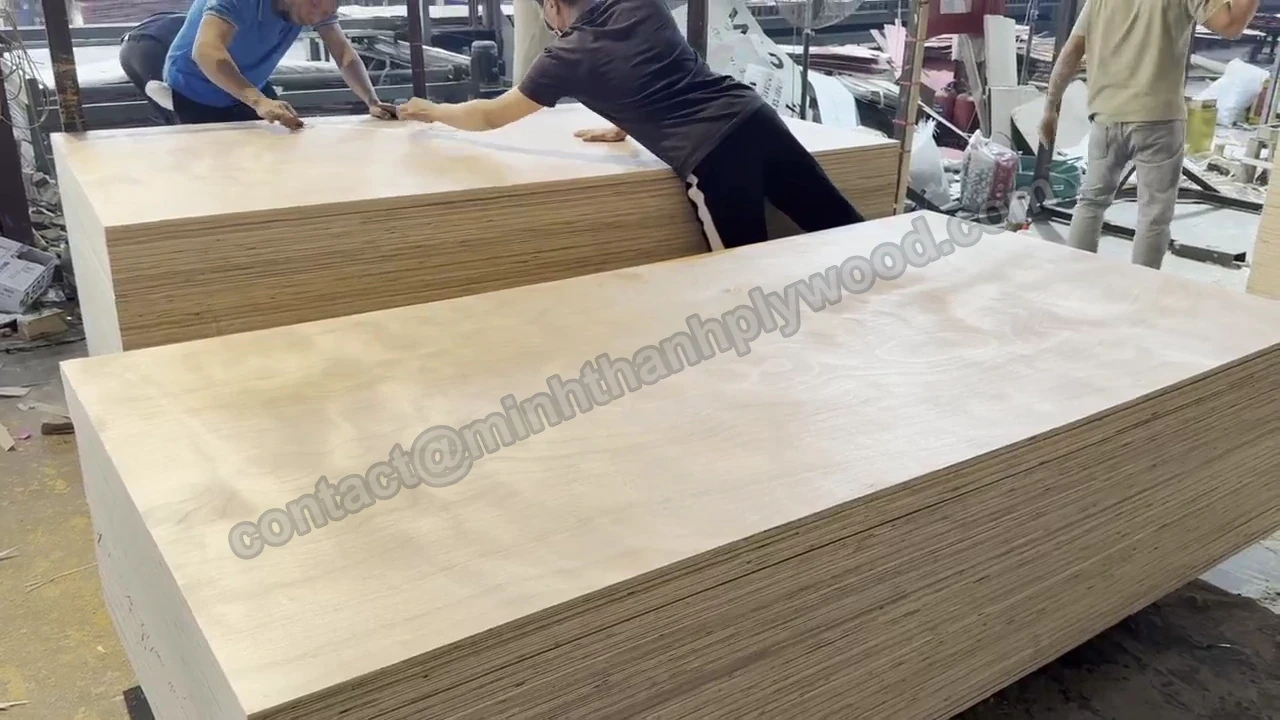
Finished plywood at a packing stage. Track usable output after face sorting and finishing, not only after geometric nesting.
What bond and emission requirements belong on the order?
Specify service exposure and the emission requirement on separate lines, with documents tied to the proposed construction. Neither a dark walnut face nor an E0 designation identifies the adhesive or the required bond performance.
Describe the service conditions before choosing the panel: a dry cabinet interior, a sink unit and an exposed outdoor component are different applications. State the documented bond performance and the finishing detail needed for the chosen application. A clear coating on the face does not protect every cut edge, joint or opening.
For the United States, the Environmental Protection Agency’s composite-wood formaldehyde rule summary, consulted on 8 October 2026, identifies hardwood plywood among regulated products and describes certification, labelling and records. Specify the applicable records for the actual panel rather than relying on a general statement about its veneer species. The limit for veneer-core hardwood plywood is 0.05 ppm under EPA’s TSCA Title VI requirements.
For other destinations, identify the buyer’s applicable requirement and test route in the order. A report from one method or construction should remain identified with that sample. Do not rename a result from another method as evidence for a different requested limit. Where the order calls for additional testing, arrange it against the identified construction before shipment.
Minh Thanh’s standard furniture/interior construction uses UF glue at E0 emission. CARB P2 / TSCA Title VI certification is held under ICTT mill no. 23024 for the specified scope. These are facts about our offered range; a natural walnut panel from a different source needs its own matching documentation.
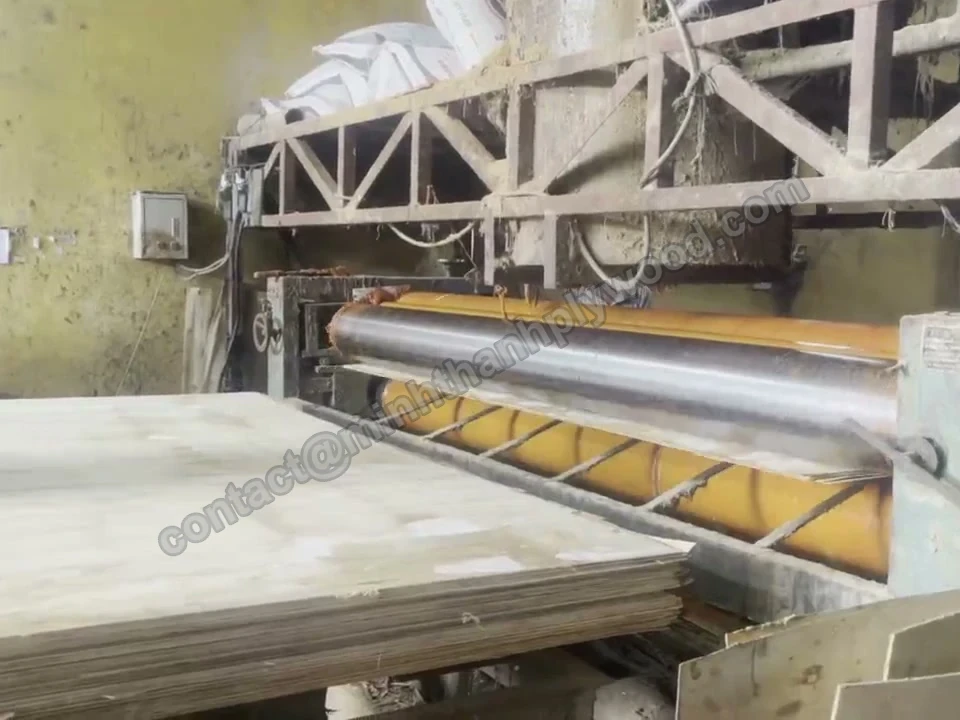
Veneers beside adhesive-spreading rollers. The required bond and emission records belong to the specified panel construction.
What sample approval should come before buying volume?
Approve the visual range and a finished representative component from the construction in the quotation. The approval must connect the veneer selection to the part the workshop will actually make.
- Record face species, colour selection, cut, matching, back and core identity.
- Compare full-face material with the allowed sapwood and natural-feature range.
- Measure thickness and inspect a cut section at representative machining positions.
- Cut the component with the intended grain direction and production tools.
- Fit the selected banding or solid lipping and trial the hardware.
- Apply the complete finish and inspect adjacent components together.
- Keep the accepted references, construction schedule and cutting/elevation revision.
Include difficult junctions in the sample: a door pair, a banded corner, a panel return or an exposed routed edge. A simple flat square can avoid the places where the design is most likely to fail. For a selected set, trial representative leaves from the allowed range rather than only the supplier’s most attractive piece.
Agree how a material or process change will be handled. A changed face selection affects appearance; a changed core affects machining and possibly the assembly; a changed coating affects the finished reference. Repeat the relevant trial before the revised material is treated as approved.
Make the sample identity appear on the purchase order and receiving checklist. That connection is more useful than a signature on an unlabelled swatch. It gives the supplier, purchaser and workshop one specific construction and appearance range to reproduce.
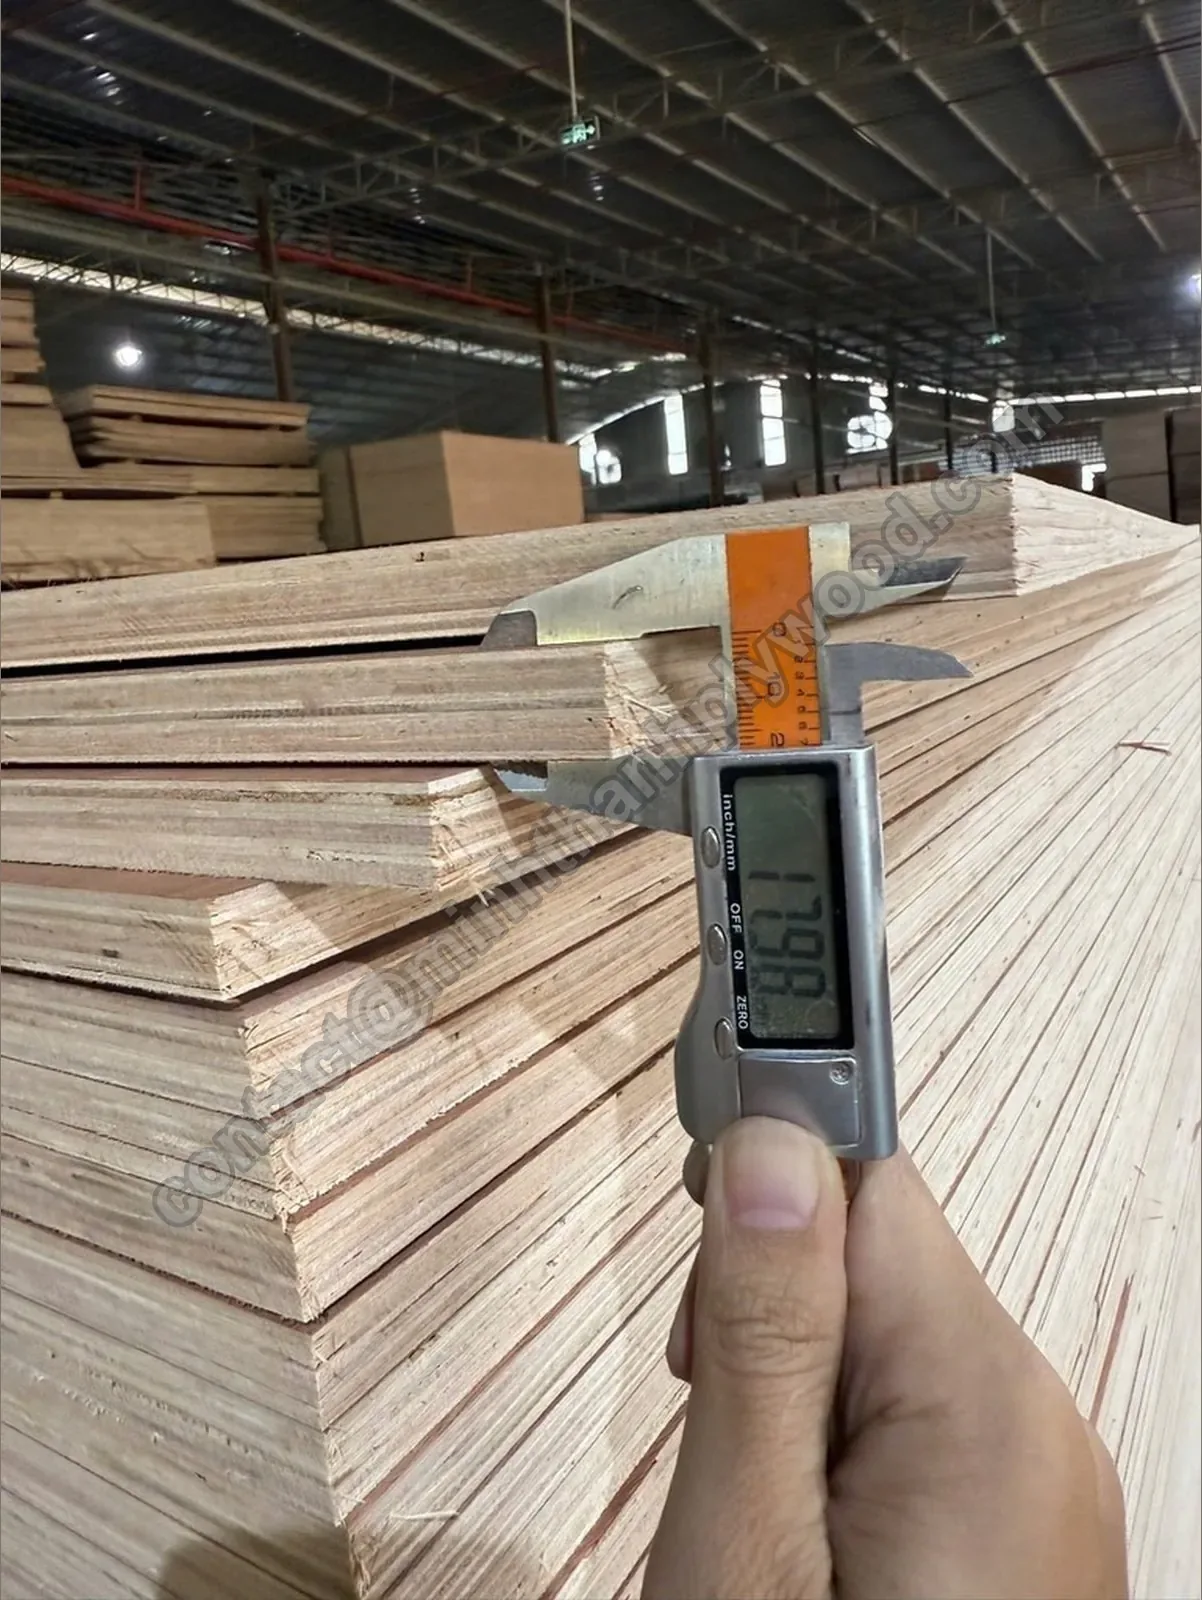
A thickness measurement on a plywood panel, shown as an inspection example rather than a walnut stock measurement.
How should selected panels be packed and transported?
Pack to protect the faces and preserve the sorting or sequence bought with the order. A selected veneer batch loses value when panels are damaged or mixed before they reach the workshop.
Describe face protection, edge and corner protection and the pack identity on the packing instruction. Finished panels need protection suited to their coating, while unfinished selected veneer needs clean contact surfaces and protection from contamination. Specify how the material will be lifted and supported without dragging faces against each other.
Keep grain arrows, top/bottom orientation and matched-set numbers on protective labels. Put the packing list in the same order as the physical groups so the receiving team can locate a set without opening every pack. If different thicknesses or backs are included, identify them as separate constructions rather than one mixed walnut pack.
Plan container loading from panel mass plus packaging and the booking limit. A walnut face cannot tell you whether the core is a lighter veneer construction or a heavier substrate. Use actual weights or agreed planning weights for the complete construction. A calculation of how many rectangles fit in the container is only a space calculation until the mass limit is checked.
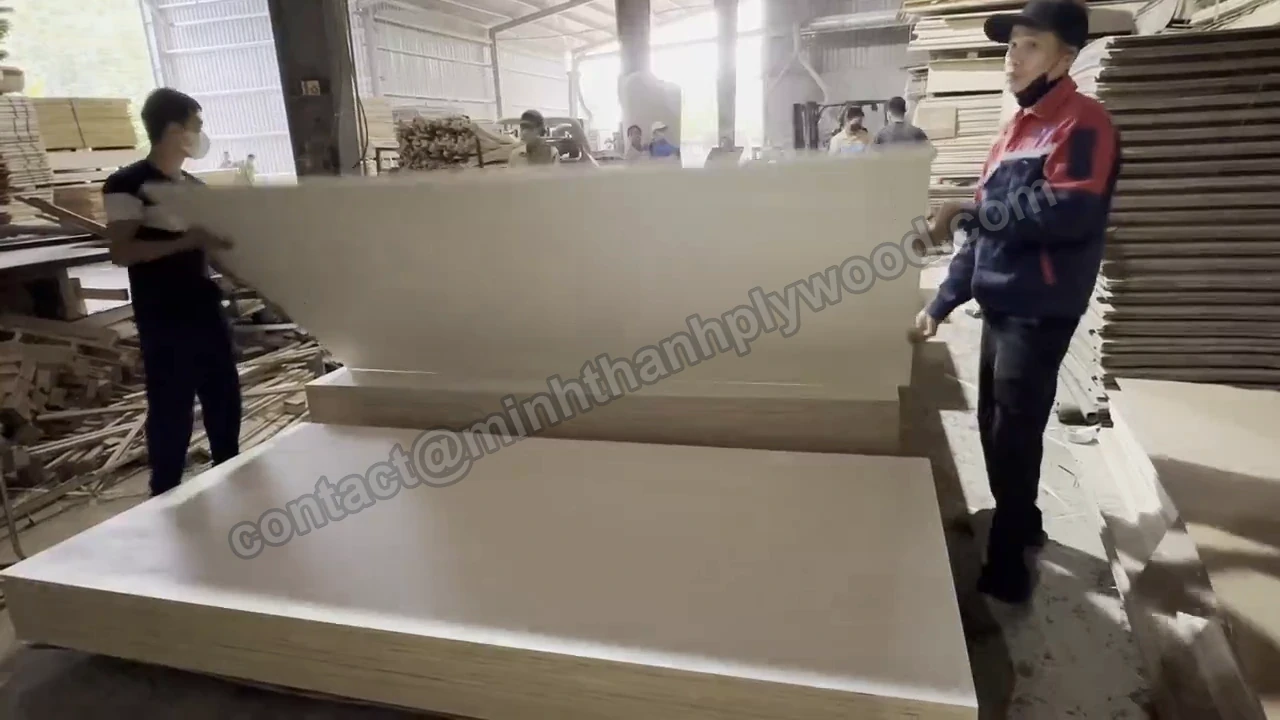
Full-sheet handling above a stack. Selected faces need protection from dragging and contact damage before packing.
For workshop storage, use level clean bearers and support the stack suitably. Keep panels covered and away from floor moisture. Do not allow a selected face to rest on grit, metal fragments or an unprotected protruding fixing. Handling damage is especially costly when a replacement must belong to a matched set.
Condition the panels for the workshop and installation environment using the panel supplier’s instructions. A fixed waiting period alone does not establish that a sheet is ready to machine: pack wrapping, panel thickness and room conditions affect the process. Agree the incoming moisture check and how a meter is used on the specified construction. Record the room conditions and sampled panel identities when investigating movement. Do not unpack a matched set into an uncontrolled damp area simply to start a generic acclimatisation clock. Keep it supported and identified while the workshop checks readiness for cutting and finishing.
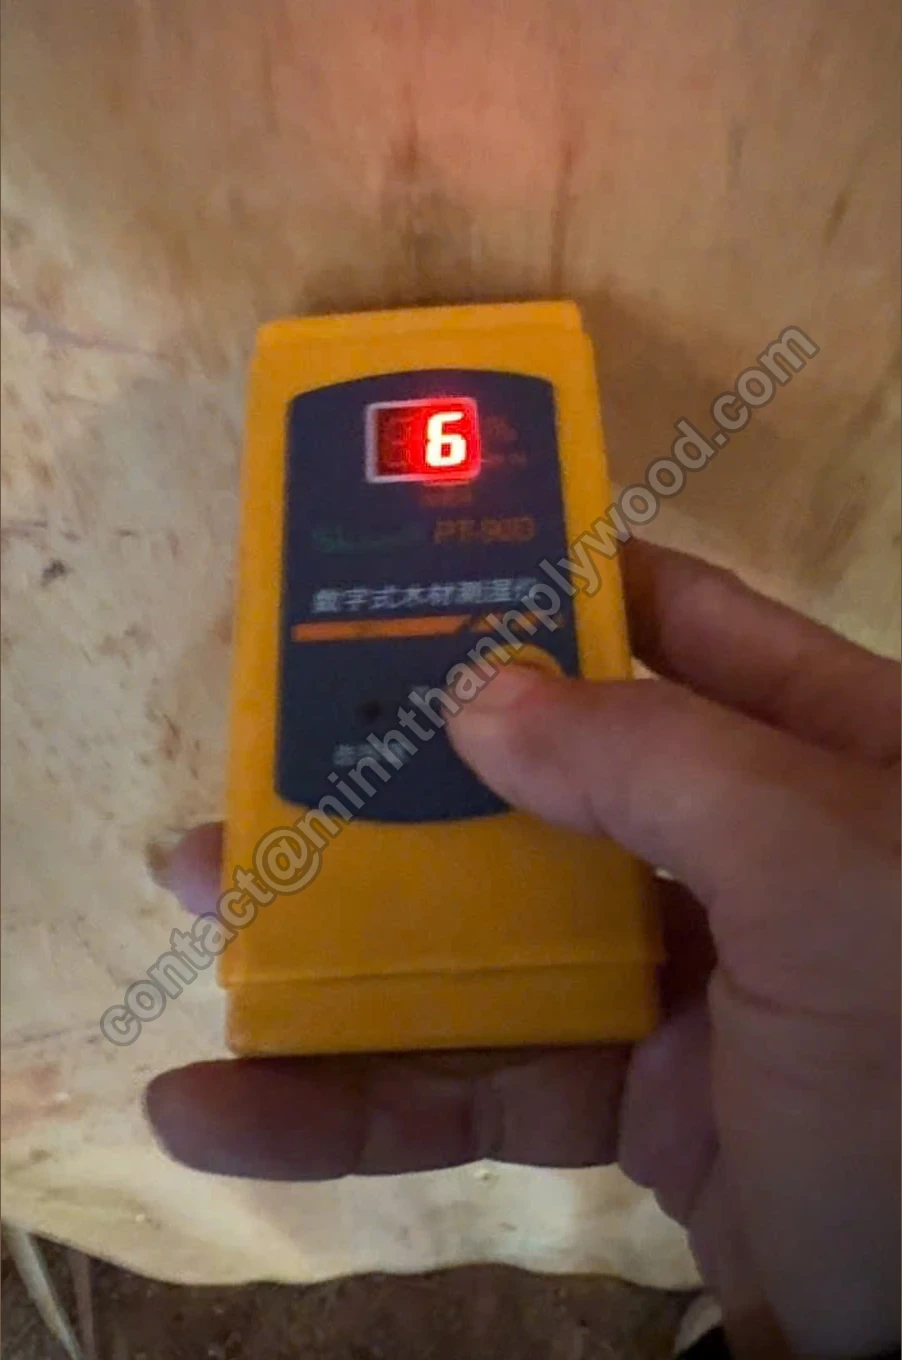
A meter used on core veneer during production. Finished walnut panels need their own agreed sampling method and acceptance requirement.
What should you inspect when the walnut plywood arrives?
Check identity, condition and appearance before separating matched sets or cutting the sheets. Receiving should preserve evidence about which pack and panel each observation belongs to.
Photograph unopened pack condition and labels. Compare the packing list with the material schedule, then inspect a representative selection within the packs. Verify face/back, finished dimensions and the agreed core using identified samples. Check surface contamination, edge damage, face lifting and signs of moisture exposure before releasing material to production.
Assess natural colour and figure against the retained finished reference range. For sequence work, lay the required panels out in order and compare them with the approved elevation. A correct individual grade does not excuse a missing panel number or an interrupted relationship across neighbours.
Record defects separately from permitted features. A sapwood strip inside the accepted range is different from a sanded-through zone exposing the substrate. A natural grain transition is different from an open splice. Photograph the whole panel and a useful close view, keeping the identifier in the receiving record.
Hold suspect material as an identified group while it is examined. Mixing it with accepted sheets or cutting away its identity makes the later discussion harder. Retain a representative sample and the related label when the workshop documents an issue. This gives the supplier a real construction and location to investigate rather than an isolated untraceable offcut.
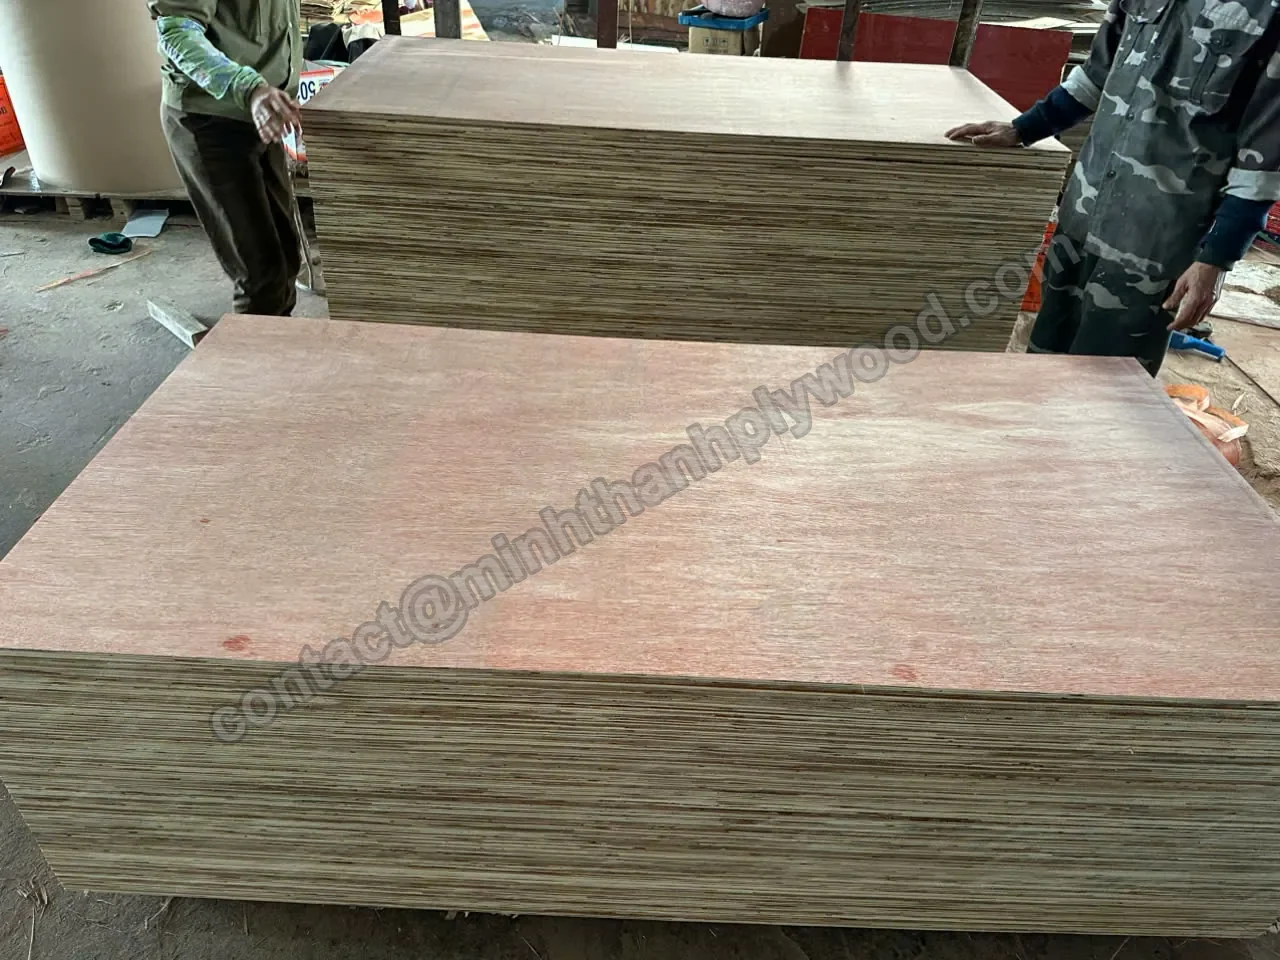
Finished panel handling. Receiving should keep inspection findings connected to pack and panel identities.
What should you send for a quotation or decorative alternative?
Send a material schedule, the finished appearance references and the component drawing, with each construction and matching requirement identified. This lets a supplier, whether in Canada or South Africa, quote the required result rather than a generic brown-faced sheet, and lets you compare each quotation on one basis.
For natural walnut sourcing, include species, sapwood/heartwood selection, veneer cut, leaf match and panel sequence where required. State the face and back, core construction, delivered thickness and tolerance, face preparation allowance and dimensions. Add the bond, destination emission documentation, workshop finish, edge treatment, quantities, spares and packing identity. Keep destination port and delivery term with the quantity schedule so competing quotations share the same freight boundary.
Where the design accepts an alternative, Minh Thanh offers engineered-veneer and birch-faced furniture panels on specified furniture cores. Standard cores are white Styrax and Eucalyptus, with stitched assembly and double pressing. The offered panel has its own face identity and sample approval. An engineered-veneer pattern is a decorative option to assess, not a natural walnut claim.
Our veneer grading process explains how the surface and core decisions are handled. Send the offered face/back choice, core, size, tolerance, bond and emission requirement, sanding or finish preparation, packing, quantities and destination. Include the final pattern reference and grain direction for any cut parts.
Request a furniture plywood quotation or free samples for that separate comparison. Approve the alternative in the material schedule and repeat the relevant finish and assembly trial before it replaces the original natural walnut specification.
Buyer questions, answered
What is walnut plywood made of?
Walnut plywood has walnut face veneer over a separately specified core, with a back chosen for the required construction and appearance. The core can be cross-banded wood veneer or another identified substrate. The walnut face name does not specify the inside layers.
Is black walnut plywood different from walnut plywood?
Black walnut identifies the American species Juglans nigra. Walnut plywood is a broader trade description that needs a species instruction. Specify the accepted species, colour range and veneer construction rather than identifying a panel by darkness or smell.
Why does walnut plywood have pale patches?
Walnut sapwood is pale compared with the brown heartwood, and colour selection determines how much appears in the face. A natural walnut specification can include this contrast. If the design needs a heartwood-selected appearance, approve the permitted sapwood on real finished samples.
What is book-matched walnut plywood?
Book matching reverses adjacent veneer leaves to create a mirrored pattern at their join. It defines the relationship within the face and does not automatically sequence one panel with the next. Specify the panel layout separately where doors or wall panels must continue the figure.
Should I choose slip-matched walnut for cabinet doors?
Slip matching keeps successive leaves in the same orientation and can suit a quieter repeated grain. Compare it with book matching under the actual finish and installed lighting. Choose the result from a sample rather than treating either match as universally better.
Is veneer-core walnut plywood stronger than MDF-core walnut?
The complete construction and component determine useful performance. Compare the actual hardware fixing, load arrangement, machining and mass for the job. Neither the walnut face nor a broad core category provides a finished-panel load rating.
Can I use 1/4 walnut plywood for cabinet doors?
A thin walnut-faced sheet can be a decorative insert or back when its frame, support and attachment suit the design. A freestanding door needs its own thickness and construction decision. Trial the finished component rather than selecting by a nominal thickness label alone.
What should I check when buying 1/8 walnut plywood?
Identify the actual finished thickness, core and adhesive, then trial the intended cutting process. Decorative thin panels and craft stock are not interchangeable with structural sheets. For laser cutting, use material documented by the panel supplier and accepted by the machine manufacturer.
Can walnut plywood be sanded and refinished?
Preparation is limited by the remaining decorative face, so obtain the supplied-stage veneer thickness and sanding allowance. Trial repairs on an offcut before sanding a visible part. A worn thin face cannot be refinished like a thick solid walnut board.
Is walnut plywood waterproof or suitable for flooring?
A walnut face does not establish waterproof performance, structural capacity or a flooring wear layer. Buy a documented panel and complete system for the intended exposure and use. Ordinary decorative furniture panels belong in the specified interior application.
How do I calculate the real cost of walnut plywood?
Compare the total purchased-panel, freight, machining and finishing cost against the number of accepted components. Keep colour sorting, matching restrictions, cutting waste and rejected finish in the yield record. Compare quotations only after face/back, core, preparation and delivery terms match.
Can engineered veneer replace natural walnut?
An identified engineered-veneer pattern can be approved as a separate design option, but it should not be described as natural walnut. Trial the actual pattern, repeat, finish and edge treatment. Minh Thanh offers engineered-veneer furniture panels and free samples for that comparison.
How do I replace one panel in a matched walnut wall?
Use the retained sequence identity and the agreed spare strategy to find an acceptable replacement. A random panel of the same species and grade can interrupt the grain or colour. Plan replacement pieces with the original elevation before the veneer set is cut.
What should a walnut plywood sample approval include?
Keep finished references for the allowed colour and sapwood range, plus an identified component made from the quoted construction. Approve the cut, match, edge treatment, hardware and coating together. Record which panels must stay in matched sets for cutting and receiving.